Happy Monday! Let’s get right to it, shall we?
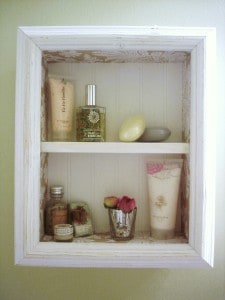
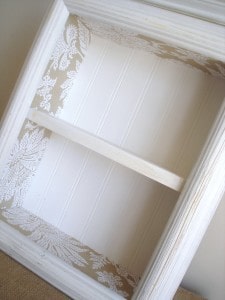
I’ve had these two images in my idea file for a while now….
I love how they are both pretty and functional and can be put together in about a weekend or so.
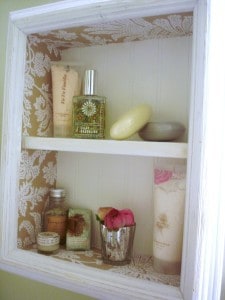
And this is my version….
(please excuse the lighting-my bathroom has no windows, hence, no natural light)
Materials Needed:
wooden frame
spare wood to create box and shelf
beadboard (if desired)
wallpaper (if desired)
To make mine, I started with an open wooden frame I got from Michaels and had my husband construct a box to attach to the back of the frame. No power tools to work with? No Problem. You can easily find wooden boxes/trays at thrift stores to use for this project. Just make sure you’ll be able to find a picture frame to fit on the wooden piece you find. Make sense?
After the shelf was constructed, I painted and distressed using paint leftover from other projects. This process was so easy. I painted the whole thing white, and then used a paper towel to wipe on (and off again) some light brown paint to distress.
Next up-wallpaper. I really liked the idea of using wallpaper as seen in the first photo, but I loved the beadboard back even better. Easy fix-I just used wallpaper on the inside sides of the shelf instead. Doing this was a bit of risk for me, but I love how it turned out!
Lastly, just hang and decorate!


Becca Goodman
Tuesday 12th of April 2011
I am a new follower ♥ ur blog!!
Lulu
Tuesday 5th of April 2011
I absolutely love this idea! I've got a few frames in the garage and a nursery to plan for my little girl. Perfect!
Dot
Tuesday 5th of April 2011
Here from Knitty Bitties--love your ideas! Already subscribed!