
advent calendar (a tutorial)
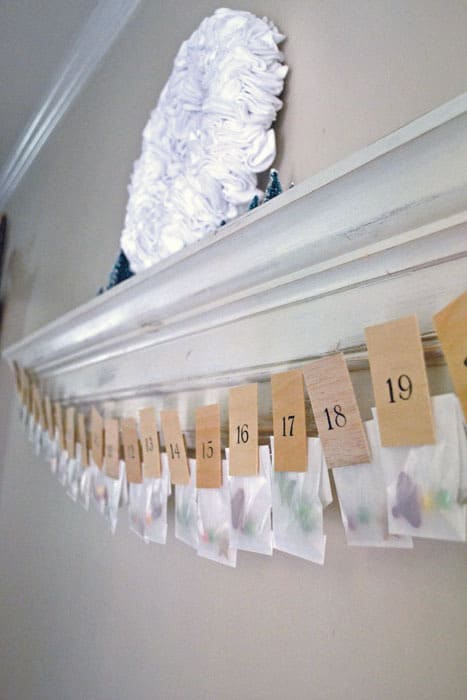
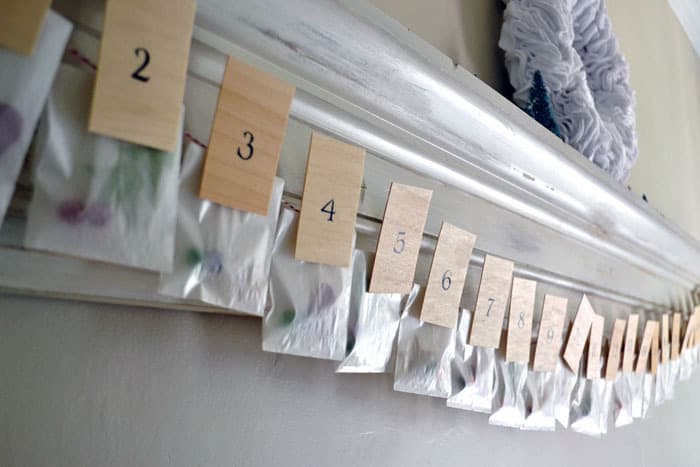
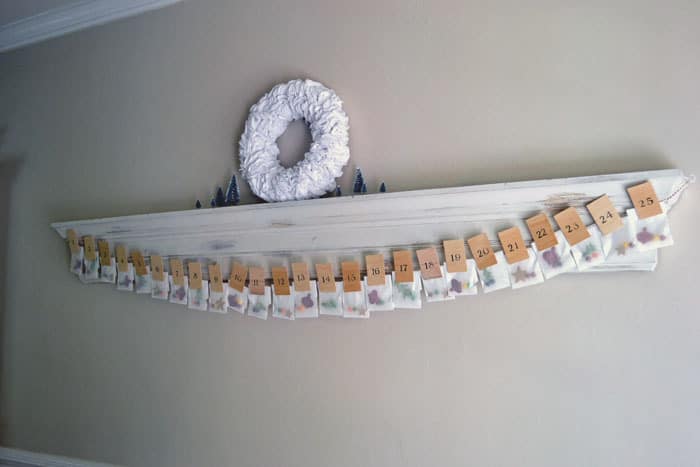
Seem a little early to start thinking about advent calendars? I thought so too, then I looked at my calendar--15 more days until the "official" countdown begins! I put together a quick and easy advent calendar this year for my little one...let's take a look, shall we?
Materials:
balsa wood (found at Hobby Lobby or Michaels)
stamps
ink
twine (I get mine from the Twinery)
mini clothespins
glassine bags
treats to fill bags
balsa wood (found at Hobby Lobby or Michaels)
stamps
ink
twine (I get mine from the Twinery)
mini clothespins
glassine bags
treats to fill bags
This was so easy, and I love the overall simplicity and almost rustic feel of it.
Step 1: Before stamping your wood, you need to cut it and seal it. Why seal it? If you don't, the ink will bleed and your numbers will be fuzzy (I know-I didn't seal the first time and didn't like the results). I used a spray acrylic sealer on my wood after cutting. The reason for this was that I used my paper cutter to cut the wood (this stuff is thin), and thought the sealer might make the wood harder to cut.
After cutting, sealing and stamping...
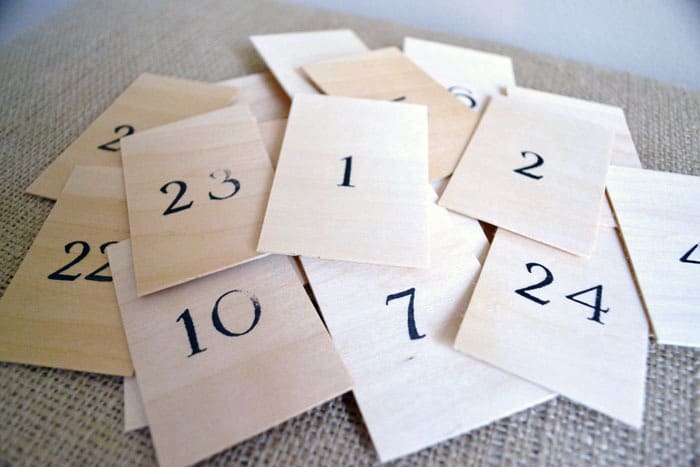
Step 2: Glue your clothespins (I used hot glue) to the back of each time.
Step 3: Fill your bags, hang your twine, and you're done!
I filled my bags with Skittles and foam ornaments. We'll hang the ornaments from a wreath or tree (haven't decided yet) each morning of Advent.
I'll post some more advent calendar inspiration next week!



So pretty! I guess I thought the wreath above was for the ornaments! An alternative to sealing the wood--and less rustic, so it would take away from the feel of this--is printing or stamping the numbers on vellum and using spray adhesive to adhere to the wood.
Love this idea.
This is such a great idea! Love it 🙂
I am in love with this idea! Will be pinning this and following your blog 🙂 Found you on the tt&j linky party by the way!
I love this idea-so simple and pretty!
This is such a simple and sweet advent calendar! I love the idea of decorating a tree or wreath with an ornament each day!
We would love for you to share this at our Home for the Holidays link party!
http://www.uncommondesignsonline.com/2011/11/home-for-holidays-link-party-2.html
This is so simple and yet so chic! I love it! And you're right...I better get to making our advent, your's has inspired me!
http://ineverylittlemoment.blogspot.com/