Hello, Lovelies! If you follow me on facebook, you may have already heard the news! I’m so lucky to be a new contributor over at A Blissful Nest, where I’ll be sharing bi-monthly tutorials! I’ll be posting them here as well, and am happy to be sharing my first with you all today….xoxo
Materials:
white, air-dry clay (I used Crayola brand)
knife or sharp edge to carve out shapes
rubber stamps (or you can use your own handwriting!)
acrylic sealer
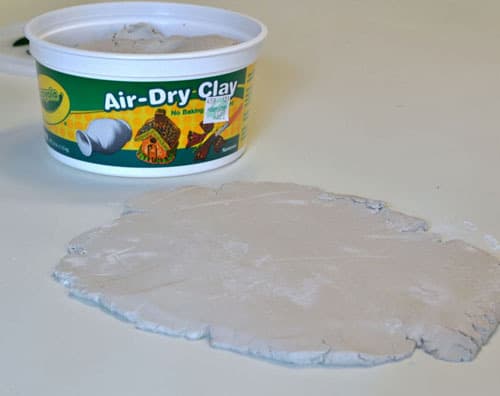
Step 1: Roll out your clay to a thickness of approximately 1/4″.
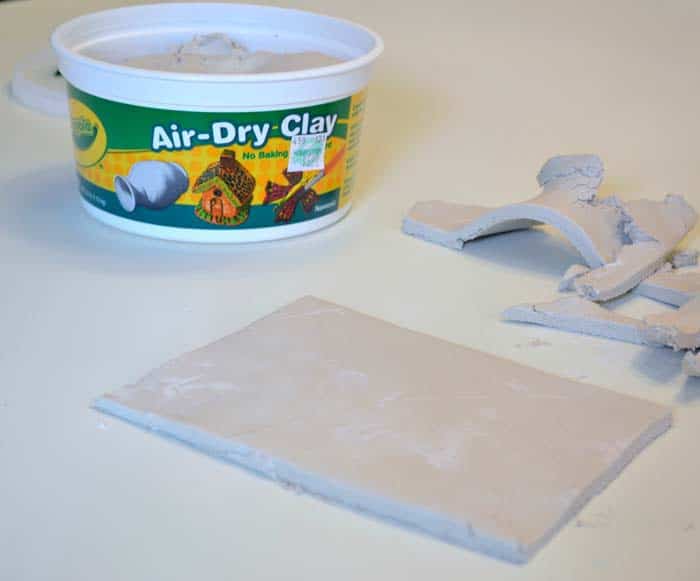
Step 2: Using your knife, cut a rectangle shape out of your clay.
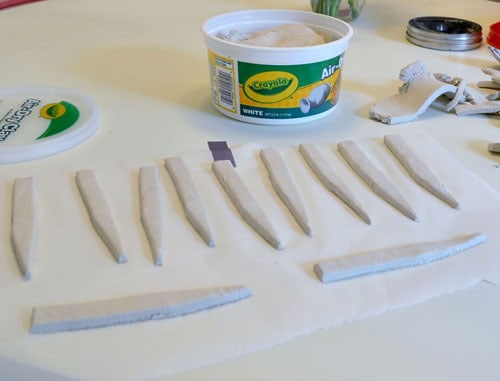
Step 3: Next, use your knife to cut your clay into long rectangles. Cut a point at the bottom of your markers so they’ll have an easier time going into your soil.
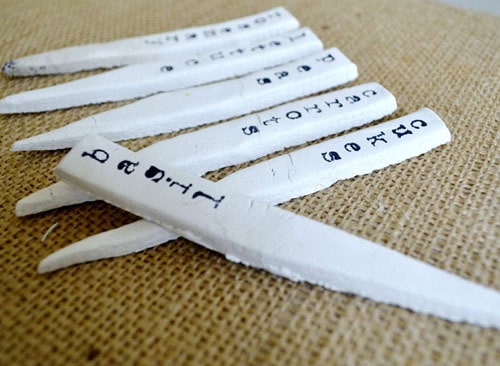
Step 4: Let your markers dry….and then get out the stamps!
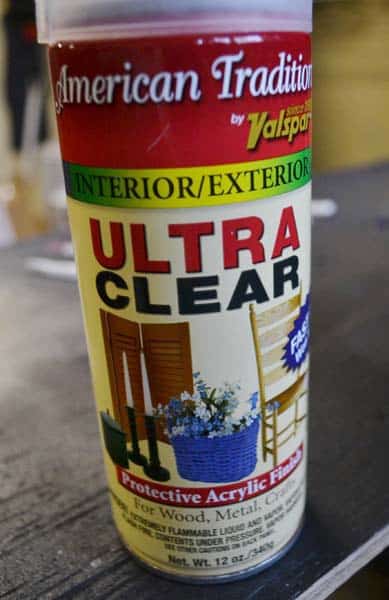
If your markers will be used indoors, consider yourself done! If they’ll be used outdoors, you will need to use an acrylic sealer to make them waterproof. This is what I used…
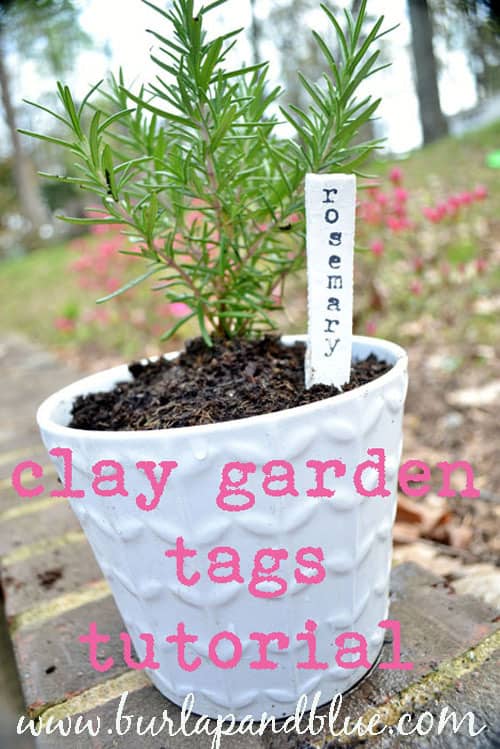
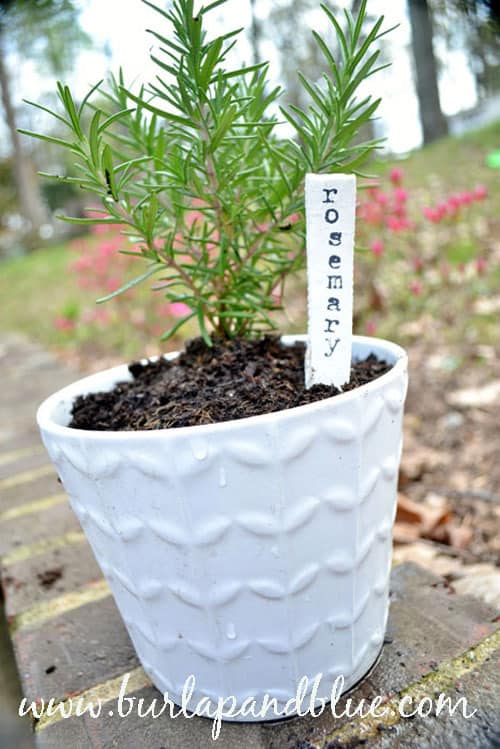
Voila! I love how simple and easy these were!

Pam
Thursday 12th of April 2012
What a great idea! Great for gifts, too.