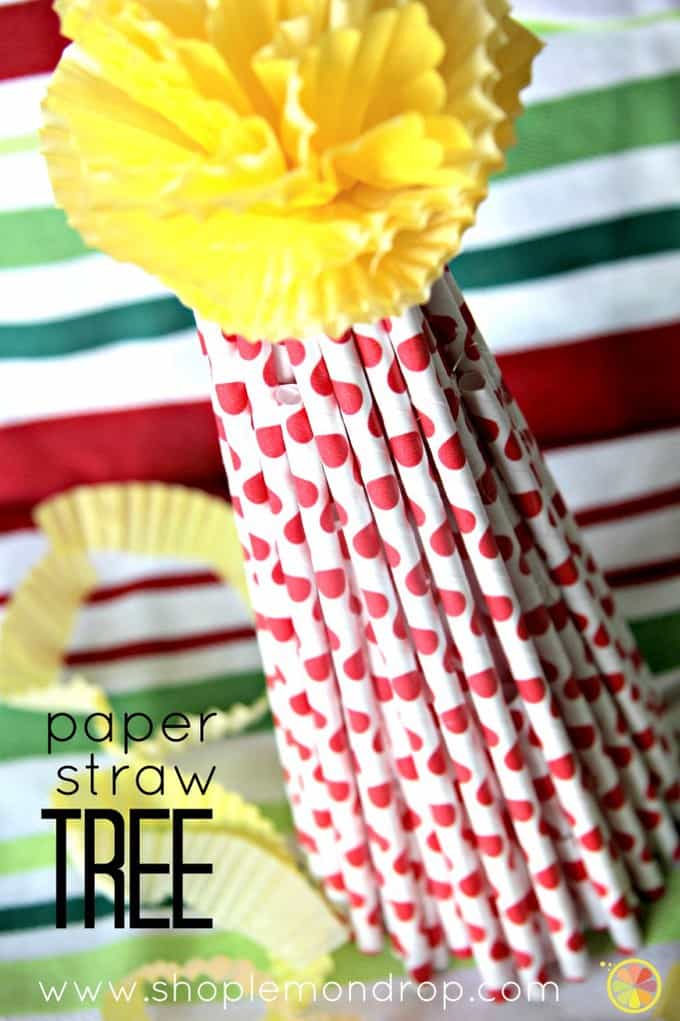
I’m back! Hope you are having a wonderful holiday season. I wanted to give you a quick craft idea that you might actually have time to fit into your busy schedule. You can imagine this same idea for other seasons or occasions with different colored straws or “topper”. It would make a great centerpiece or tabletop decoration. You could even modify it a bit to make a tree topper.
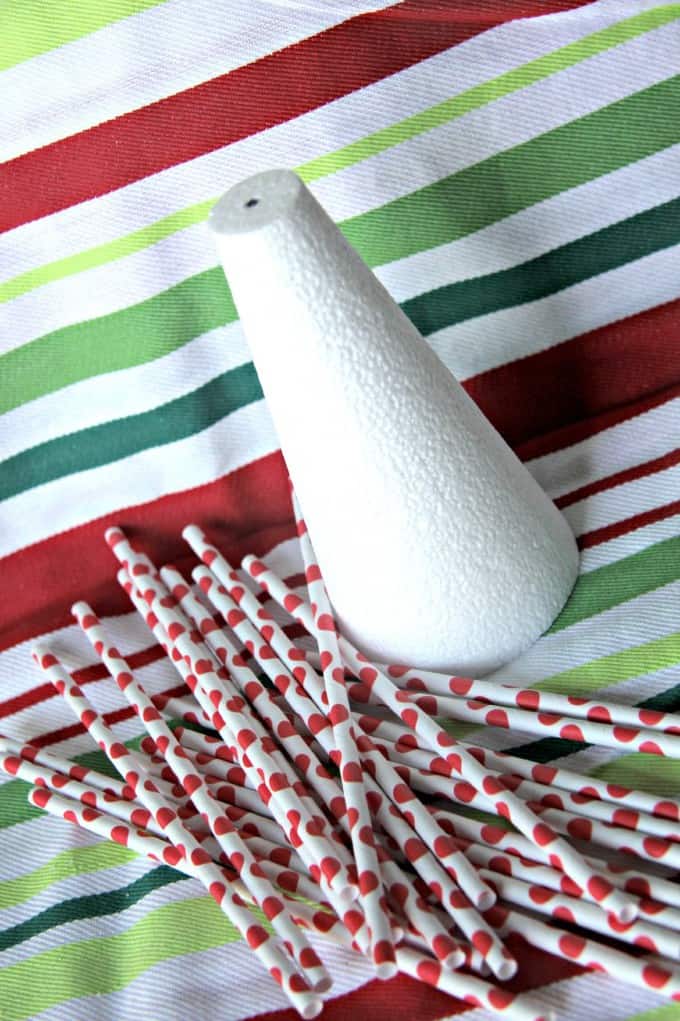
Here’s what you need: Styrofoam cone (6″), approximately 50 straws, glue gun, and scissors for the tree, and a stapler and a handful of cupcake liners for the topper.
Start gluing straws onto the cone leaving space between where you can insert a shorter straw. After you’ve gone around once, you’ll use straws with about 1″ or so cut off and fill in the gaps. Continue going around until you feel the cone is well covered. I’m not a perfectionist so it didn’t take me long at all.
To make the topper, I used the same technique from a previous post (here) but chose to trim a little off of the edges to make it just a little bit smaller.
This makes such a cute little decoration–it’s cheery and simple. While I’m sharing this project, I wanted to offer a “special” at Lemon Drop Shop. Use code “STRAWTREE” and receive 25% off of your entire order which could include paper straws and cupcake liners to make this project. (code is good through 12/16/12)
If you haven’t stopped over to the Lemon Drop Shop blog lately, I’d love for you to come by for a visit. There is a great party series scheduled for the month of January you won’t want to miss!
Wishing you a blessed Christmas. See you next year!!!


