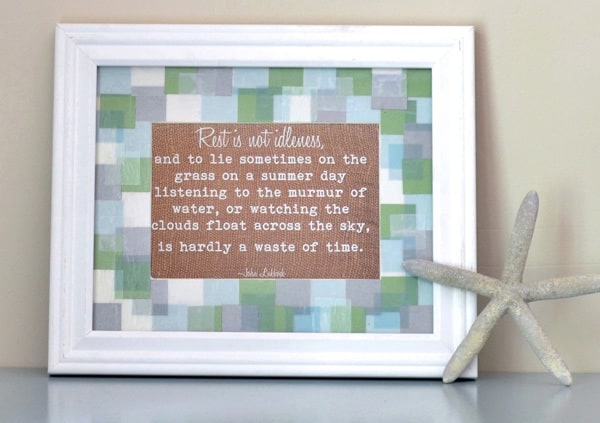
Hello, friends! I’m sharing a post here today that was featured over at Mod Podge Rocks a couple of months ago. I adore the blues/greens used in this piece, but if you want to make it for Fall, I think it would look equally beautiful in shades of gold, orange and red! Let’s get started…
Materials:
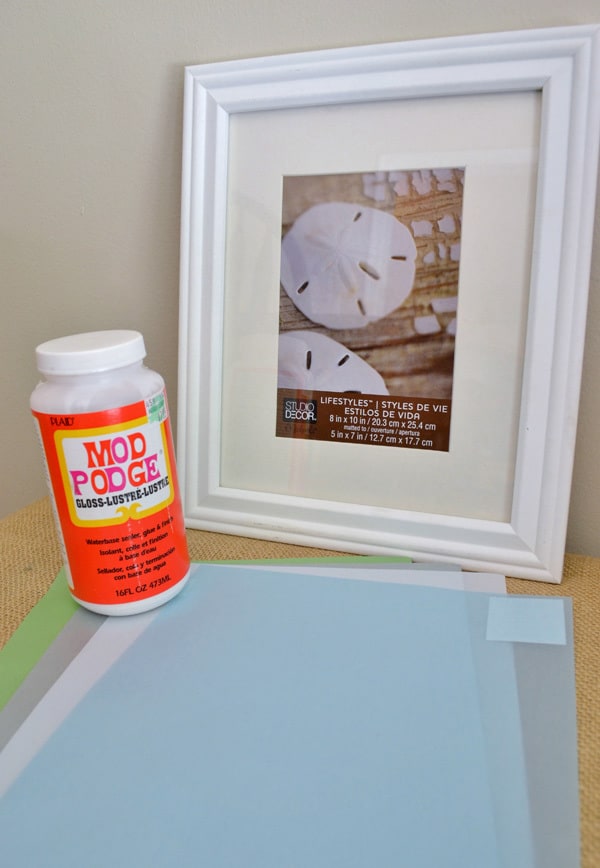
Mod Podge Gloss
vellum
paper cutter
photo mat
foam brush
Step 1: Gather your materials. I found my vellum at Hobby Lobby, and purchased the frame from Michaels. I chose four different colors of vellum-the blue and white are more transparent, and the gray and green are more on the opaque side.
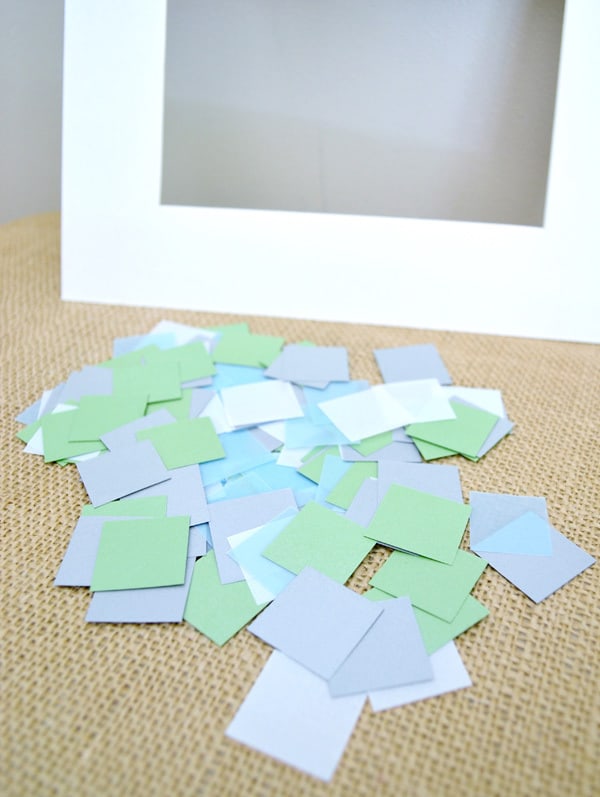
Step 2: Using a paper cutter, cut vellum into 1 inch squares. I used about half of the vellum for this project.
Ahh…aren’t those colors pretty? I’m feeling calmer already 🙂
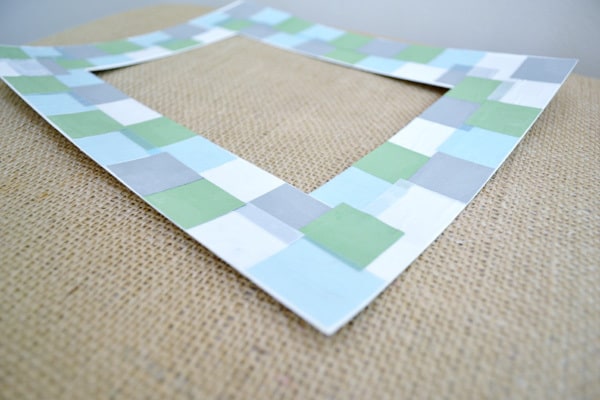
Step 3: Take the vellum squares and your Mod Podge, and adhere the vellum to the mat. For the first layer, I pretty much just lined them up, letting them overlap slightly. The image below shows the mat after my first layer of squares.
Step 3: I wanted a little more translucence and randomness to the mat, so I went back and added about a dozen more squares of vellum randomly to the mat. I used all white and blue pieces (the more translucent pieces), to get more of the stained-glass look I was going for. I then added one coat of Mod Podge to seal.
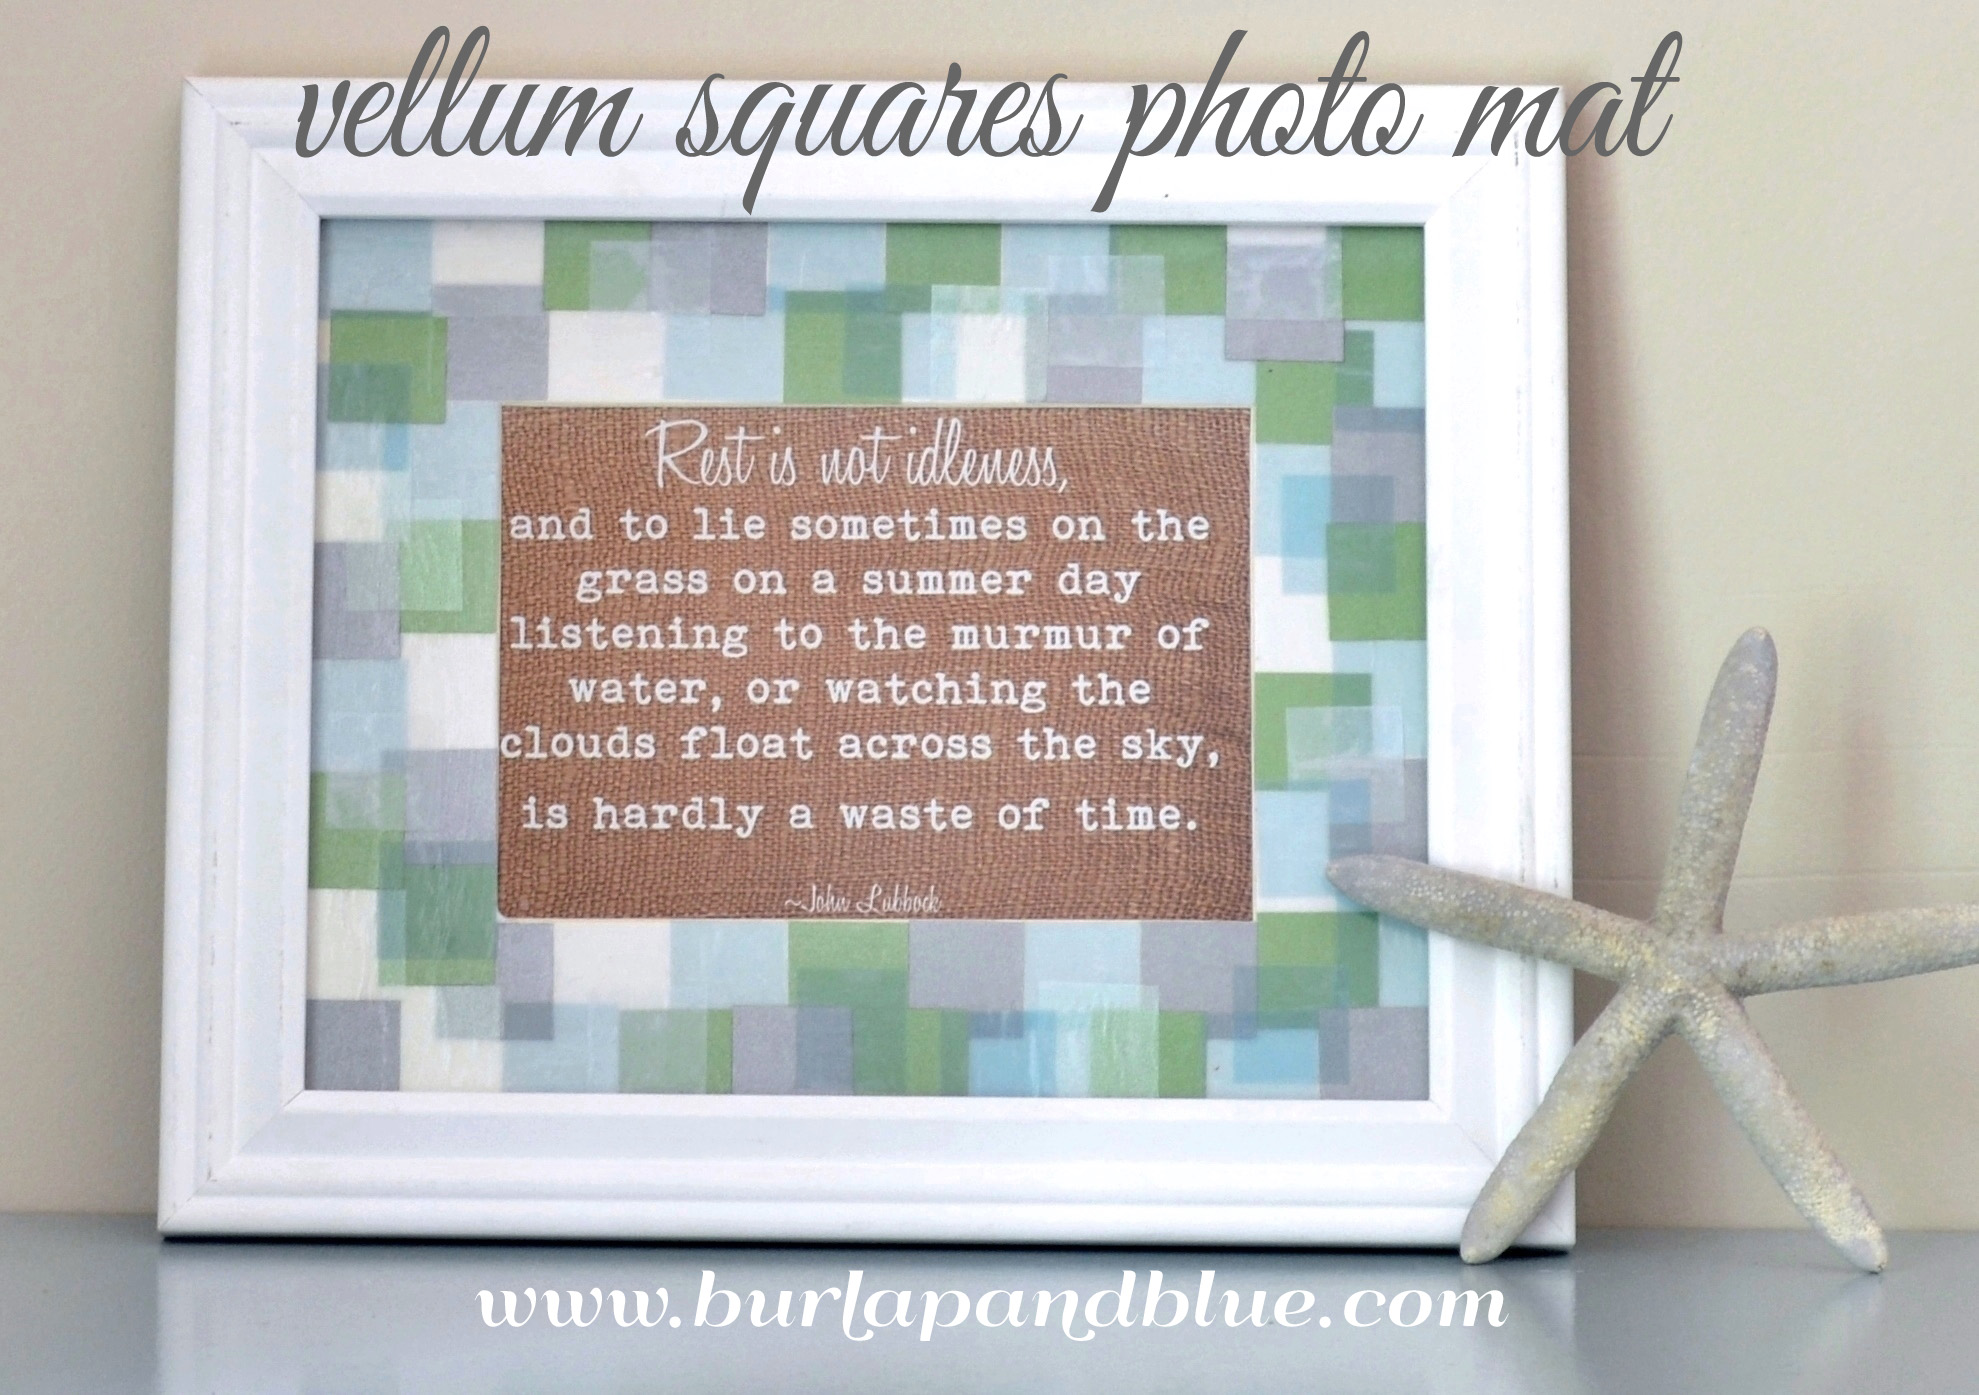
And there you have it! I adore the watery, transparent look of the piece. Instead of a photo, I framed up one of my very favorite summertime quotes.
Have a lovely day!

