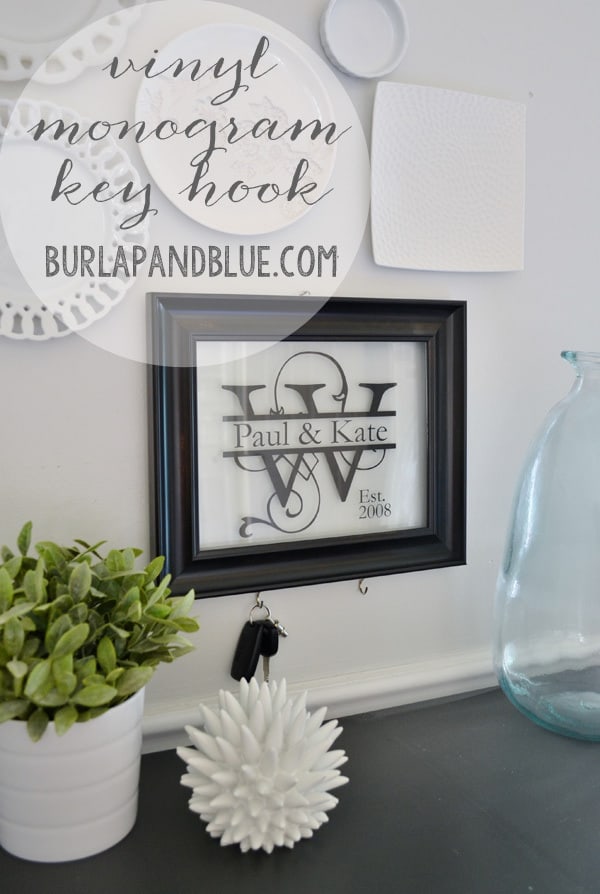
Hello, friends! It’s the first day of school around here (I have a Kindergartner! Crazy!), so I thought I’d start the week off with a great DIY for the Fall weddings and, if you’re really thinking ahead, holiday gifts! All you need for this project are the wedding monogram design Wall Quotes™ decal, a frame with glass, hooks to attach to the bottom of your frame, and paper (patterned or white, depending on the look you want).
Gather your supplies, and get ready to begin….

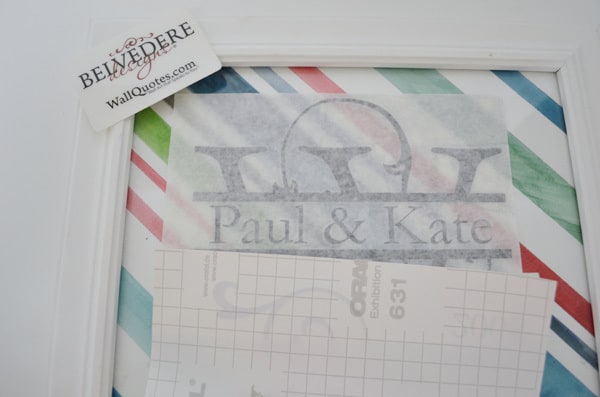
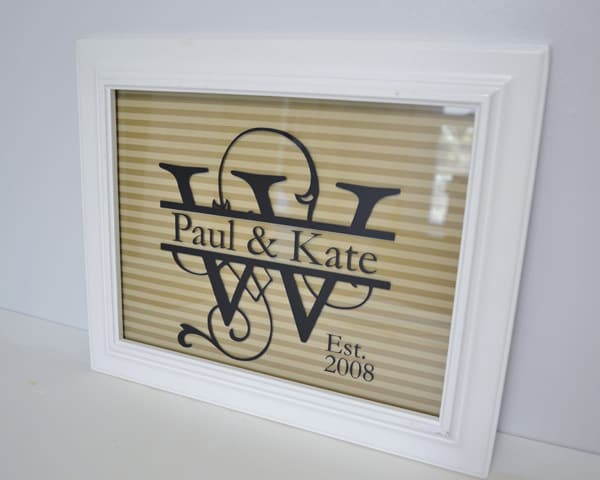
Step 1: If you want to add some color and pattern to your frame, take a piece of scrapbook paper (wrapping paper works, too) and insert it into your frame. Otherwise, use a piece of white paper. I used some watercolor stripe paper that I had, but, as you can see in the first photo, I ended up removing it for the final product. We’ll be applying the decal to the glass portion of the frame, so begin by taking your decal and centering it on the frame. Tape the decal in place, and, using the tape as a hinge, flip up decal and peel off backing.
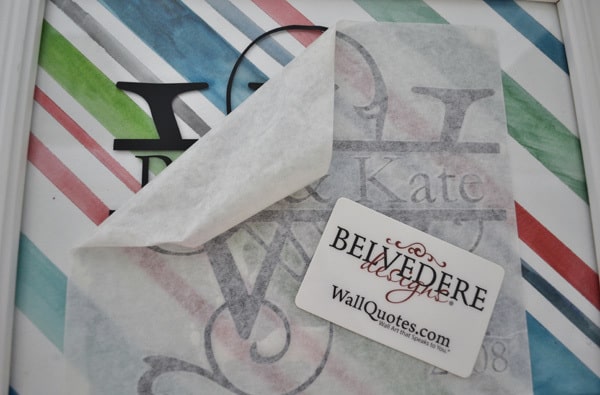
Step 2: Lay decal back down carefully and starting from the center, squeegee the vinyl decal firmly.

Step 3: Next, carefully peel back the transfer tape. To do this, start at a corner and peel the transfer tape off at a 180 degree angle-back and down rather than up and away. If necessary, use your fingers to press down on the vinyl as you peel back the tape.
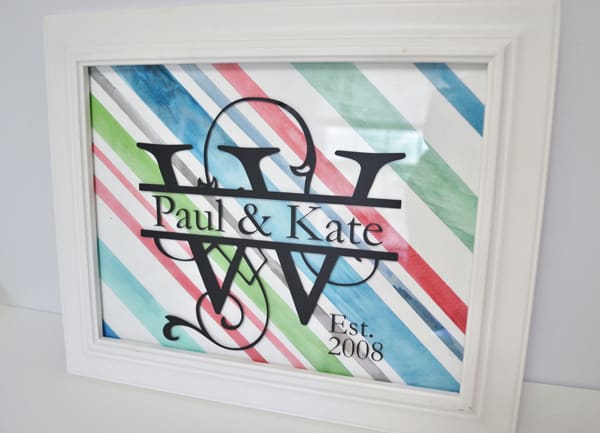
I liked the color that this striped paper added, but wanted to try out a couple of different options…gold stripes, anybody?
I finally settled on a black frame, and white paper behind the glass…
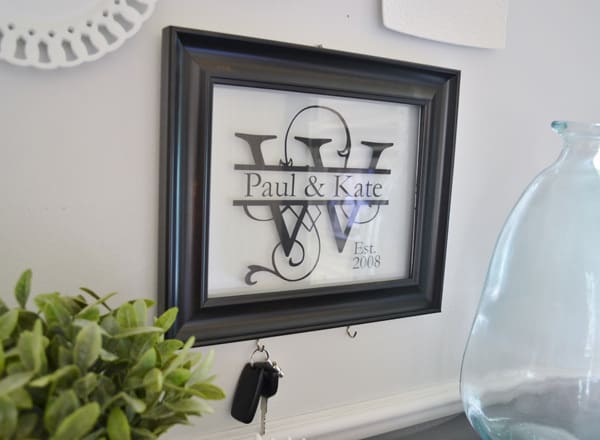
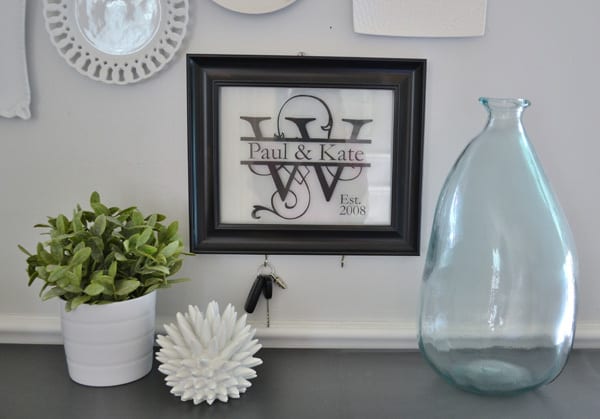
Add your hooks (if it’s a wooden frame, you can simply screw in some cup hooks), and you’re done!
Thanks for reading all about using monogram decals to create a frame! Have a crafty day!