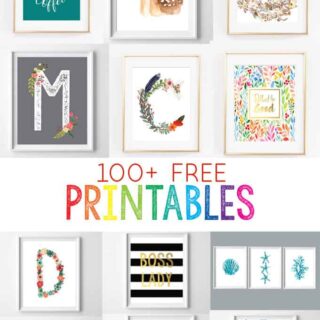
easy DIY painted canvas

DSC 0005 5 easy DIY painted canvas

Canvases are such an inexpensive and easy way to add art to your home. I’ve shared lots of canvas art ideas here, including my polka dot canvas, 10 creative solutions for blank walls post, and my cameo silhouette post. So, when I needed a large piece of art to hang above the banquette in my kitchen, I knew a blank canvas was a good place to start.

DSC 0007 5 easy DIY painted canvas

I loosely followed this tutorial from The Clever Nest, she does a great job explaining the process so I don’t have to. icon smile easy DIY painted canvas Basically, I used a foam brush and craft paint and, starting from the bottom, painted large X’s across my canvas. If I wasn’t happy with a particular section, I just waited until it was dry then painted over it. Love how forgiving craft paint is like that!

DSC 0002 4 easy DIY painted canvas

My 4-year-old and I decided it looked like the beach, which is just perfect if you ask me. And I love how it ties together all the colors in my kitchen.

DSC 0006 2 easy DIY painted canvas

With my 40% off coupon at Hobby Lobby, this canvas cost about $8. Definitely a great investment, considering I can easily paint over it when I want a change.

Thanks for reading!

ad easy DIY painted canvas  cts easy DIY painted canvas  fb easy DIY painted canvas


Pin It

balsa wood sunburst mirror {a tutorial}

DSC 0006 3 copy balsa wood sunburst mirror {a tutorial}
I really love using mirrors in my home. I have at least one per room, and I love that they can be pretty, functional, and make the space feel larger. I have new mirrors, thrifted mirrors, DIY mirrors…and now this: an inexpensive, pick-your-color, balsa wood mirror that’s hanging in our bedroom….

DSC 0001 4 balsa wood sunburst mirror {a tutorial}
 Materials:
balsa wood (aka “craft” wood, found at Michaels or Hobby Lobby)
paint
foam brush
round mirror (found in the candle section)

DSC 0002 balsa wood sunburst mirror {a tutorial}

Step 1: Take your balsa wood strips and paint them in your colors of choice. I chose variations of blue/blue-green/teal to complement the grays/yellows in our bedroom, and added a bit of silver for good measure. I layered and mixed the colors and came up with something like this…

DSC 0003 3 balsa wood sunburst mirror {a tutorial}

Step 2: Cut your strips in half lengthwise, and then in sections approximately 4-6″ long. Balsa wood is thin, and should be easy to cut with a good pair of scissors.

DSC 0004 6 balsa wood sunburst mirror {a tutorial}

Step 3:Begin arranging wood strips in a circular pattern, leaving room in the center for the mirror, and varying the colors/widths of the strips.

DSC 0005 3 balsa wood sunburst mirror {a tutorial}

Step 4: Add a second layer of wood strips, cutting them a bit shorter than the first set of strips, and layering them in between your outer layer of strips. Start carefully hot gluing the strips to each other, as well as hot gluing the mirror to the center of the sunburst.

DSC 0007 3 balsa wood sunburst mirror {a tutorial}

Voila!

DSC 0007 4 balsa wood sunburst mirror {a tutorial}

DSC 0003 5 balsa wood sunburst mirror {a tutorial}

So easy and inexpensive…this mirror probably cost all of $10 (not including hot glue and paint, which I already had on hand).

So tell me-what spot in your home could use one of these pretties? What colors would you choose? I love the deeper blues of this mirror, but would love to see one in metallic as well!

ad balsa wood sunburst mirror {a tutorial}  cts balsa wood sunburst mirror {a tutorial}  fb balsa wood sunburst mirror {a tutorial}


Pin It