duct tape wreath {a tutorial}
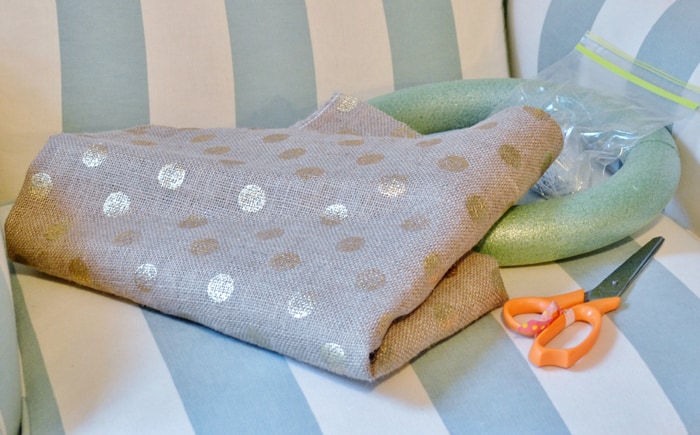
I’m not sure about you, but inspiration strikes me in the unlikeliest of places sometimes…I don’t necessarily need nature, music, or even Pinterest to inspire me…sometimes all it takes is a stroll through Target to do the trick! I came across this aqua geometric duct tape, and I KNEW a wreath was where this DIY …