Happy Monday! Anyone else so thankful that Fall (or at least Fall weather) has arrived?
Autumn-scented candles, open windows, and crisp air made for a perfect weekend for me.
Autumn-scented candles, open windows, and crisp air made for a perfect weekend for me.
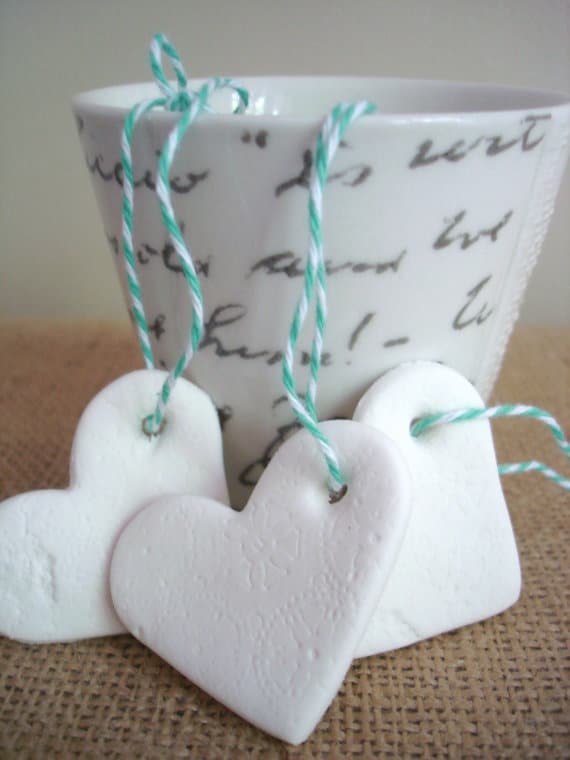
A few weeks ago, I shared a tutorial on The Twinery’s blog on how to create clay gift tags. I’m sharing a new take on these later on in the week, so I wanted to post the original tutorial here in case anyone missed seeing it…

Fun and easy, these lightweight clay hearts are perfect for adding a small touch to a special gift, stringing along a garland, or even tying around a jar or vase of flowers!
Materials:
Crayola Magic Dough
paper doilies (or stamps if you want to make the vintage script tags)
cookie cutters
Twinery twine
chopstick
Crayola Magic Dough
paper doilies (or stamps if you want to make the vintage script tags)
cookie cutters
Twinery twine
chopstick
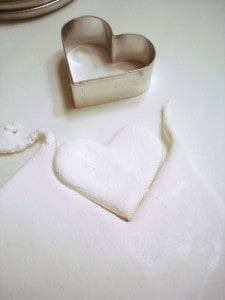
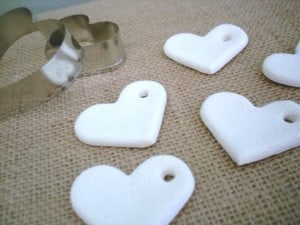
Step 1: Roll out your dough to about 1/4″ thickness. Using your cookie cutter shape of choice (I chose hearts), cut out your shapes. Use your chopstick to make a hole for hanging.
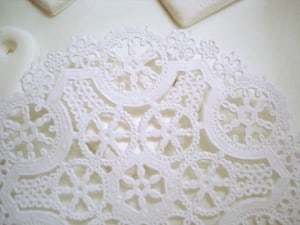
Step 2: If desired, use paper doily to “stamp” design onto your shapes. Alternatively, you can use stamps to imprint designs or letters onto your shapes.


Step 3: Let dry (about 72 hours), string and hang!
See you later in the week for a fun spin on these versatile tags!


take m y a
Monday 25th of June 2012
Cool sites...
[...]we came across a cool site that you might enjoy. Take a look if you want[...]…...
LinhC
Friday 23rd of September 2011
Cute!
Mubin
Monday 19th of September 2011
Thank you for the awesome tutorial.. I love it! But.. doesn't the clay need hardening? Shouldn't I put it in a kiln?
Bonnie
Friday 30th of September 2011
Mubin, this is a self-hardening clay.
Cyndi
Monday 19th of September 2011
I just ordered supplies from Amazon.com!! Want to get an early start on creating tags for Christmas gifts! Thank you for the awesome tutorial!!