Looking for an easy craft idea? Today, I’m sharing all about how to Mod Podge a vase! This watercolor vase is so pretty and versatile–read on for the how to!
Playing with watercolors the other day, I decided to take a chance and try to create a watercolor vase using Mod Podge. I’m so glad I did, I love how this turned out!
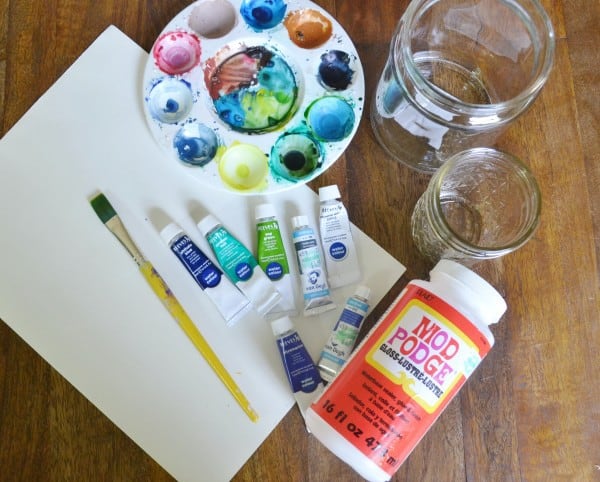
Materials:
Mod Podge Gloss
2 glass containers (one to fit inside the other)
Foam Brush
Watercolors
Watercolor Paper
Paintbrush
Step 1: Gather your supplies and cut a piece of your watercolor paper to fit inside your glass jar. The best glass jars not tapered; they have straight sides. This will help make adhering the paper inside the jar easier. You’ll also need a smaller jar to fit inside the larger jar. I found both of my jars at Hobby Lobby for under $4!
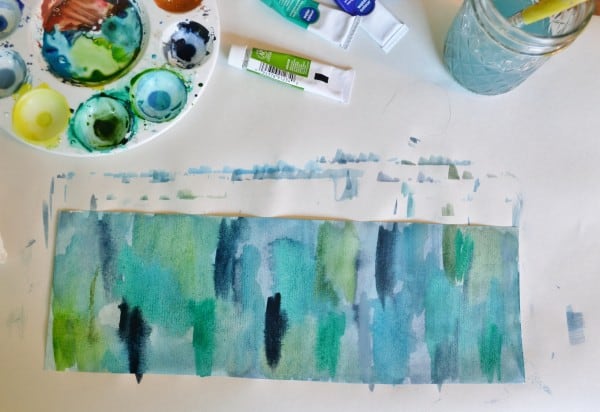
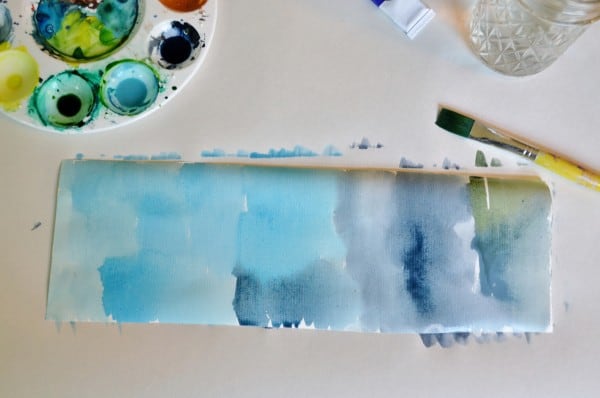
Step 2: Use your watercolors to paint your paper. You could also do this project with scrapbook, wrapping or leftover wallpaper!
I’m not a watercolor expert, but I’ll try to talk you through what I did:) I started by applying shades of blue and green across the paper, using plenty of water.
Then, I went back and added swashes of color, blending as I went and adding more water as needed to help the colors blend together. Let dry completely.
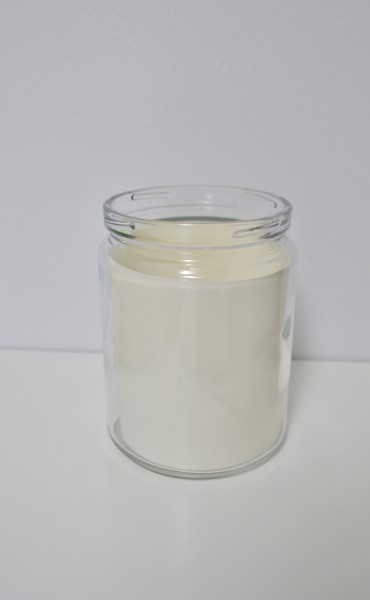
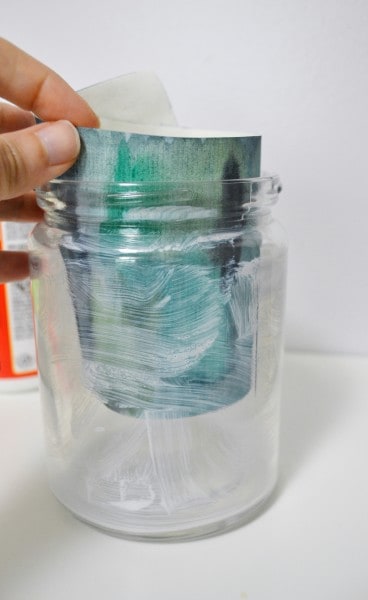
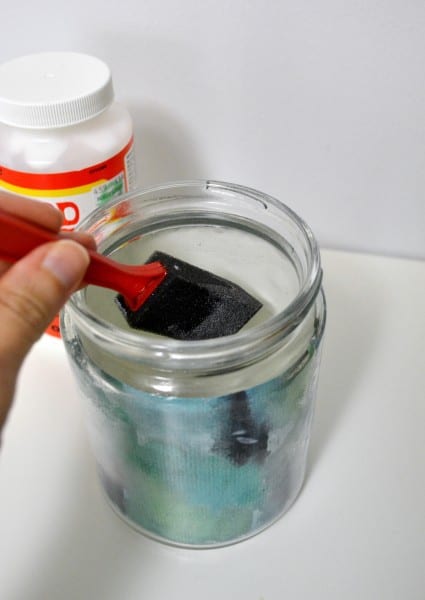
 Step 3: Once paper is fully dry, coat the inside of your jar with Mod Podge. Insert your paper, and press firmly to adhere it to the jar. Once dry, apply several coats of Mod Podge over the paper, letting dry between coats.
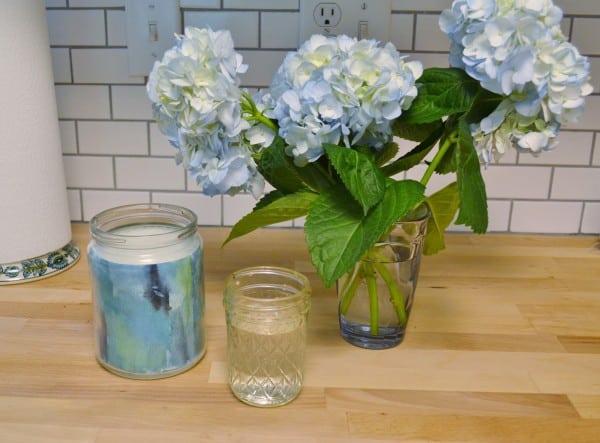
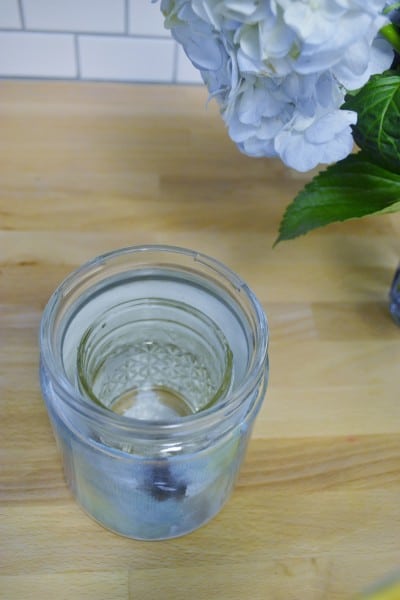
Step 4: Once dry, take your smaller jar and insert it into your larger one. Since Mod Podge isn’t waterproof, you won’t want to add water directly to your vase.
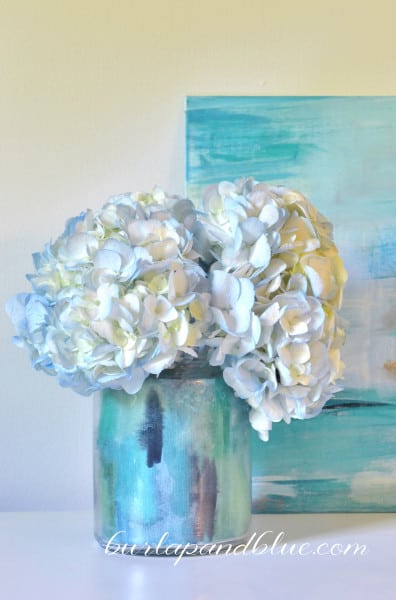
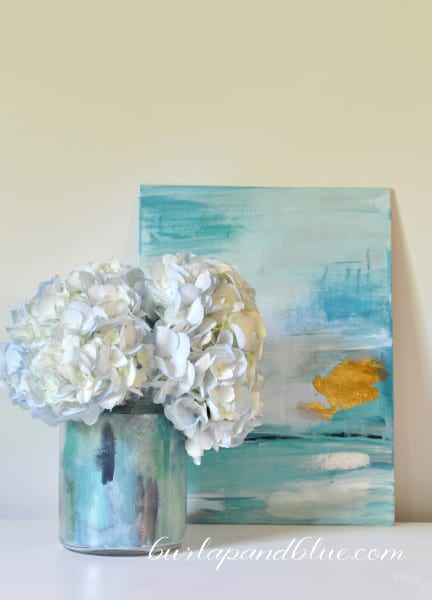
Cut your flower, insert into your vase, and you’re done! I really love how this turned out; the colors are perfect for my decor, and I always love an excuse to buy fresh flowers.
Hope you enjoyed today’s post on how to mod podge a vase! Have a lovely day!

Bethany
Monday 15th of June 2015
Beautiful! I love the colors you chose and that this is a project someone of any skill level can complete. :)