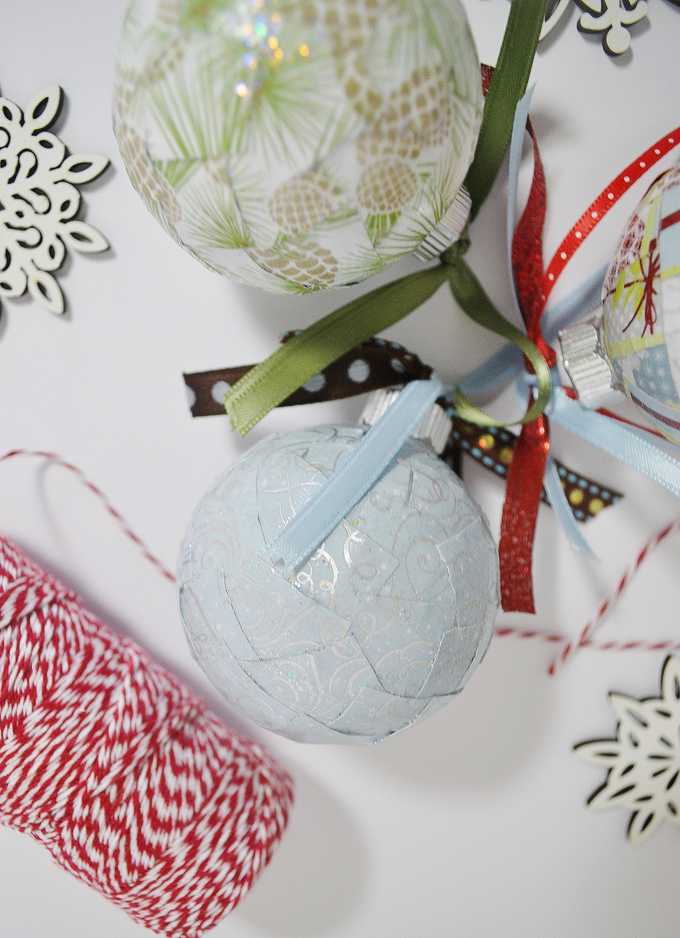
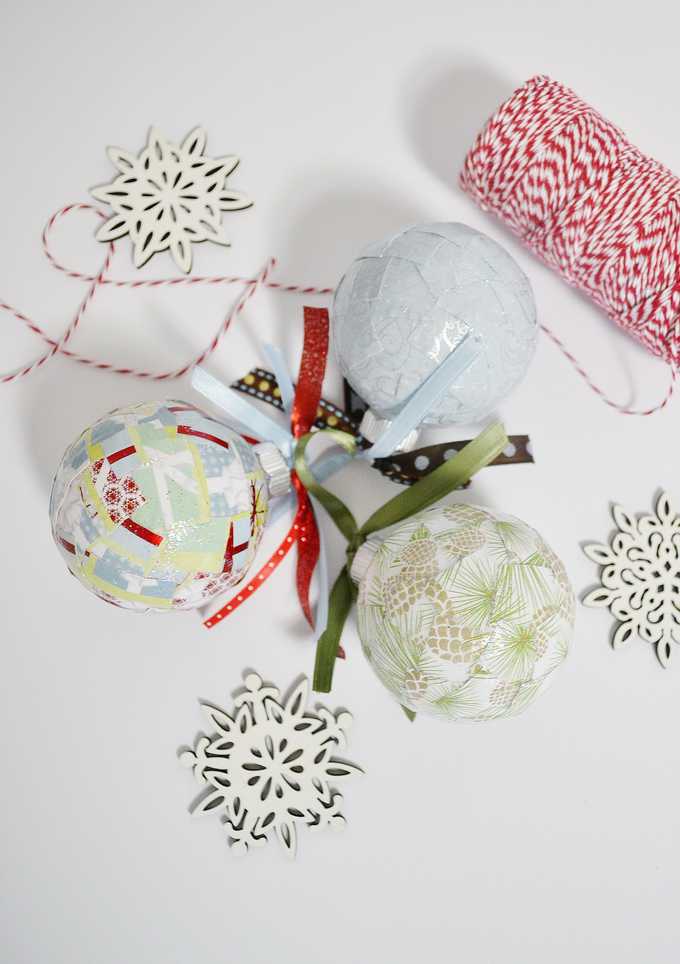
Looking to DIY Christmas Ornaments this year? This easy tutorial will show you how to mod podge glass ornaments. It’s a fun Christmas craft for adults and kids alike! Give them as Christmas gifts, or use them to decorate gifts or your own tree!
Hello, hello, friends! I’m so excited to share this super-easy, last-minute holiday craft with you all today. It’s the perfect way to spend a crafting morning with your kids, or a great excuse to meet up with some girlfriends one evening for a craft night. In addition to being easy and wallet-friendly, these make great gift toppers and even teacher and neighbor gifts. Let’s get started…
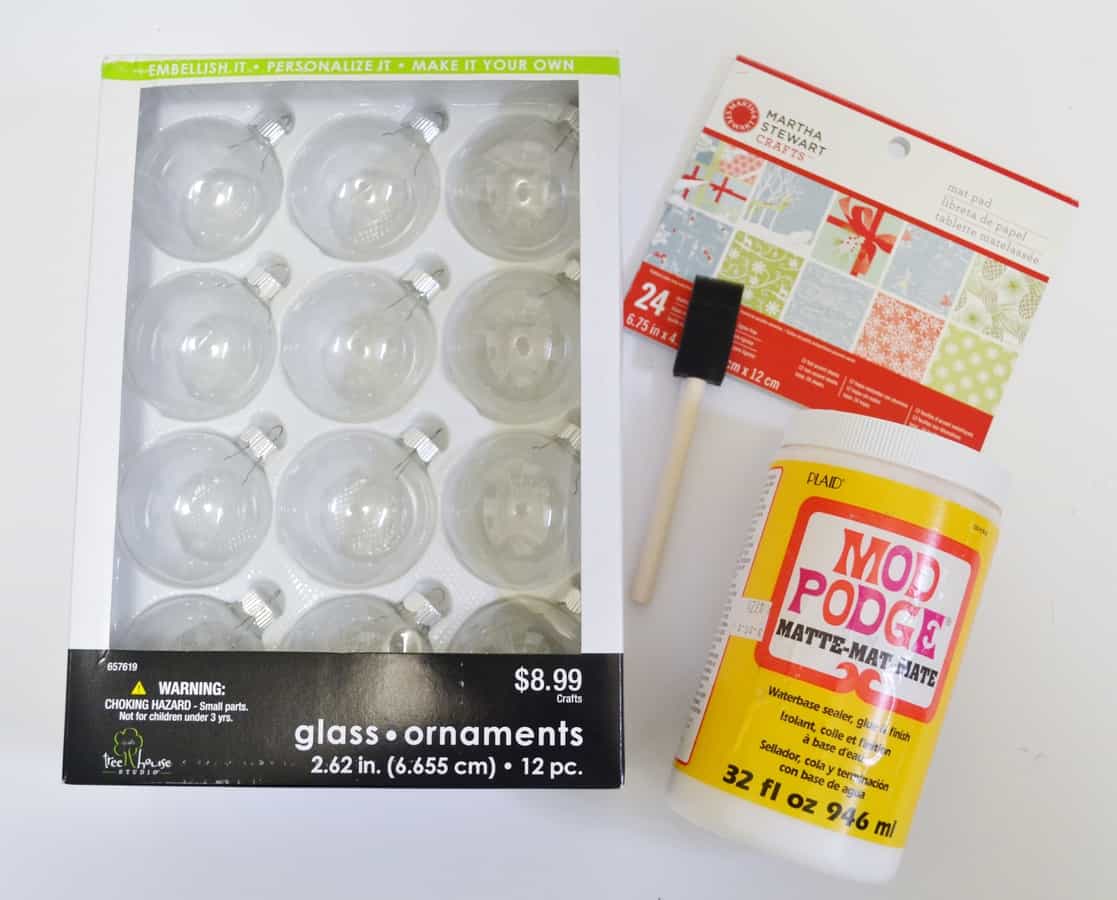
Materials:
- Clear Ornaments
- Scrapbook or Tissue Paper
- Ribbon or String for Hanging
- Foam Brush
- Mod Podge Matte
- Mod Podge Sparkle (not pictured)
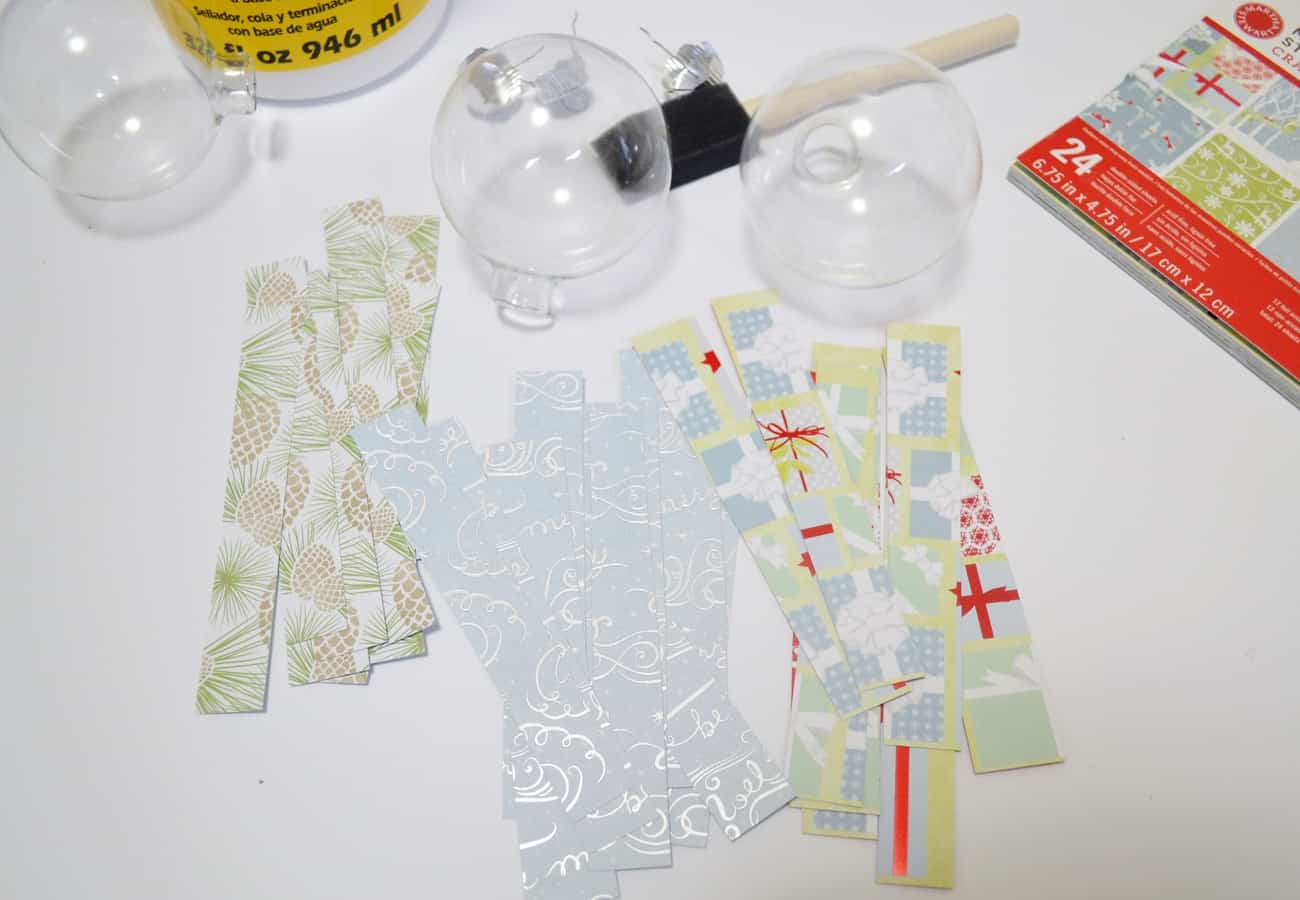
Step 1: Choose your papers. I chose scrapbook paper, but tissue or wrapping paper would also work well! Cut your paper into strips, and then cut your strips into small squares.
Step 2: Add some Mod Podge Matte to your ornament, take a piece of paper, and press it down. Thicker scrapbook paper will take a little longer to press down than thinner tissue or wrapping paper. Don’t be surprised if this gets a little messy…it’ll all be covered up in Mod Podge, so messiness doesn’t count against you here.
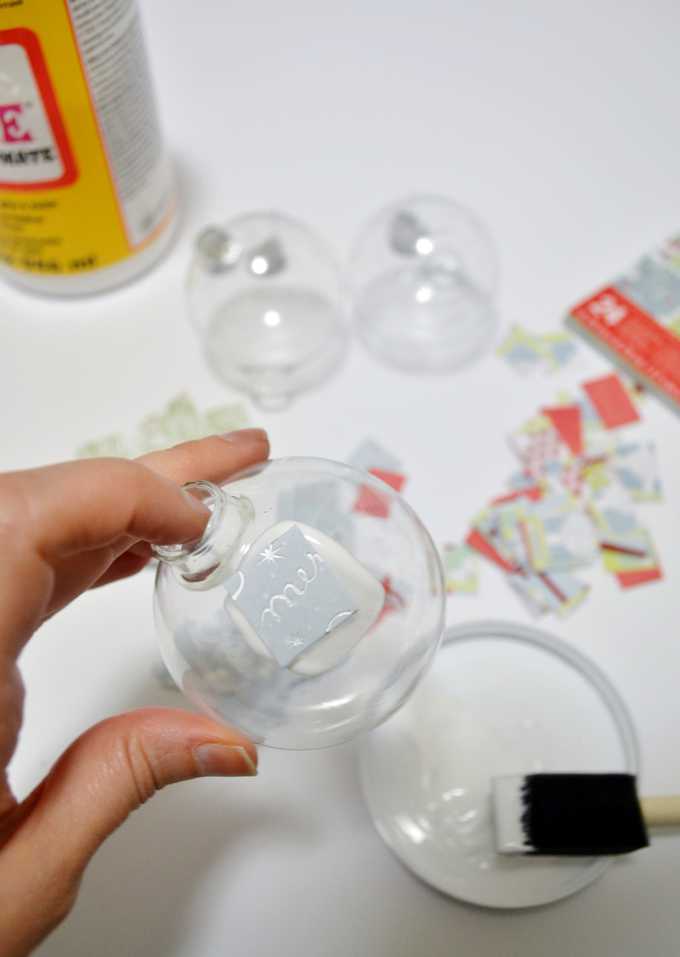
Continue working around your ornament, until it’s completely covered. Let dry. Add 2 coats of Mod Podge Sparkle, letting dry completely between each coat. The Mod Podge Sparkle will add a thin coat of sparkle and sheen that’s the perfect finishing touch for these ornaments! Lastly, add a piece of ribbon or string for hanging.
I really love how simple this was and how cute they turned out!
Thanks for reading all about my decoupage ornaments. Have a crafty day!

Thanks for reading all about my DIY Christmas Ornaments {How to Mod Podge Glass Ornaments}. Have a lovely day!


