Want to know a secret about me? I love, love, love browsing in craft stores–there’s always so much goodness to be found and I could browse for hours. While doing the aforementioned browsing the other day, some plain chalkboard and cork tags caught my eye. I knew that I could combine them with glitter and mod podge and make something amazing!
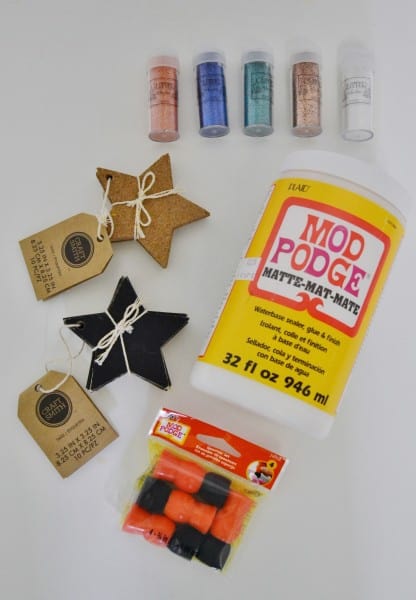
Materials:
Mod Podge
Glitter
Tags of Any Shape
Twine for Hanging
Spouncer or Foam Brush
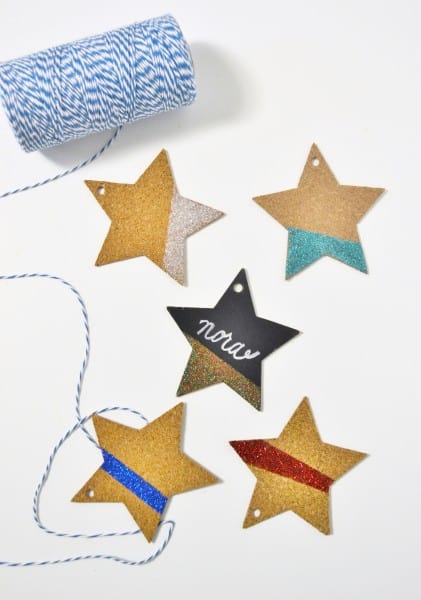
Step 1: Tape off an area on your shape that you want to add glitter to. You can tape off a section (gives the shape a “dipped” look), add a stripe, or experiment with other ways. Use your spouncer to apply Mod Podge to your taped-off section.
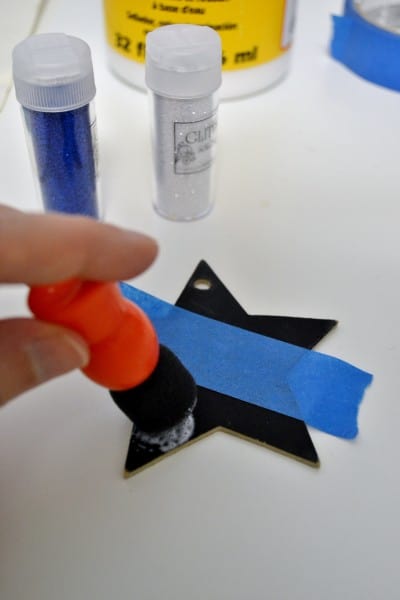
Step 2: Apply glitter to the Mod Podged area. For lighter colors (especially on the darker chalkboard), you may want to apply two coats (letting each coat dry fully before applying the second).
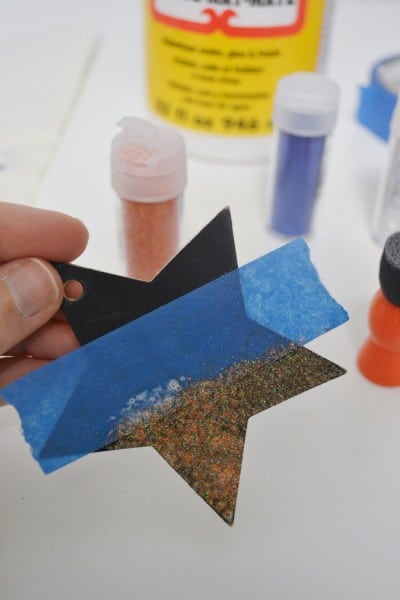
Remove the tape and let dry.
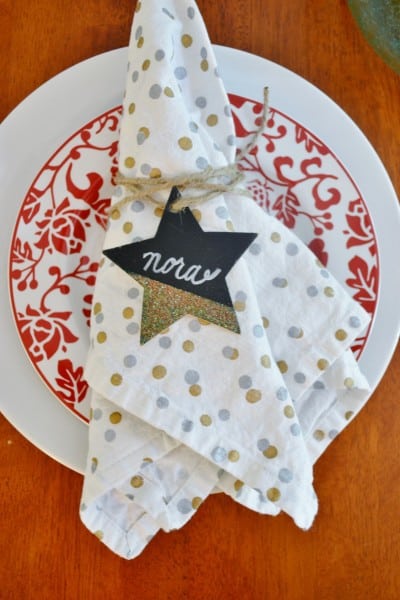
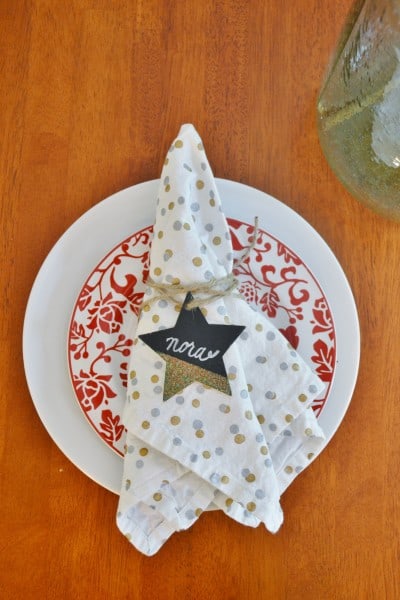
The crafting possibilities here are endless. I love these tags for placecards, but I also think they’ll have home in my holiday gift wrap this year.
So tell me, what’s your favorite way to decoupage with glitter? I’d love to know!

