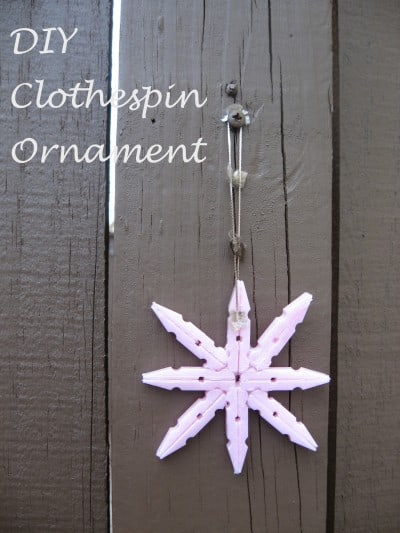
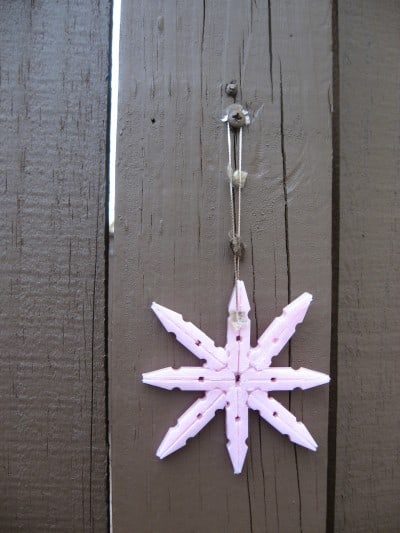
Happy Crafting! Jillian here from Her Split Ends with a fun and easy ornament crafting idea.
I was on the hunt for a fun project to use some of the leftover clothespins from a baby shower I hosted for my sweet sister-in-law. When I stumbled across a little inspiration on Pinterest {shocker!} I knew just what to do…make an ornament!!!
Not only is it a cute {and easy} project, its something I can give to my little niece as a memento from that special day.
Supplies
8 clothespins
hot glue
ribbon or twine {if hanging}
glitter
paint
embellishments {optional}
Directions
Take apart all {8} clothespins {the metal spring should pop right off with just a little finagling – I used skinny pliers}
Each clothespin will give you {2} pieces with one side flat. Align the flat sides together and use hot glue to attach.
Once all pairs are glued together, start by glueing two together at the rounded end. 4 total will make the first shape of the snowflake. {similar to an X shape}
Glue the remaining 4 pairs into the inside corners of the X shape.
**optional: add glitter, or a quick dash of metallic paint for a little extra shine
Tie with ribbon, twine or wire
Hang & Enjoy!
So get crafting this holiday season!! Find ways to make your decor more meaningful by incorporating things that you love and that bring back all those wonderful holiday memories!
Cheers ~ Jillian


