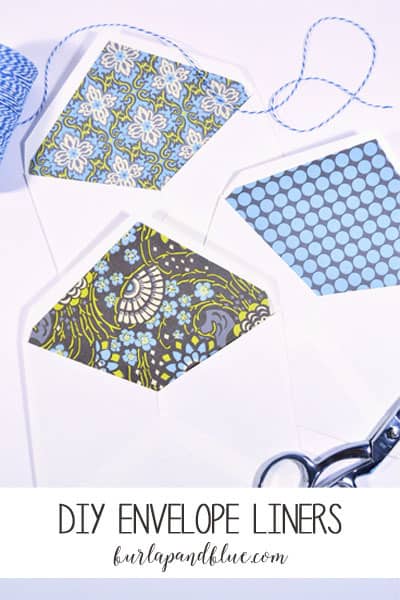
DIYing your own envelope liners is one of those little details that can really take your invitations up a notch. It’s not hard, especially if you get into a rhythm and have a good friend or two by your side to help out.
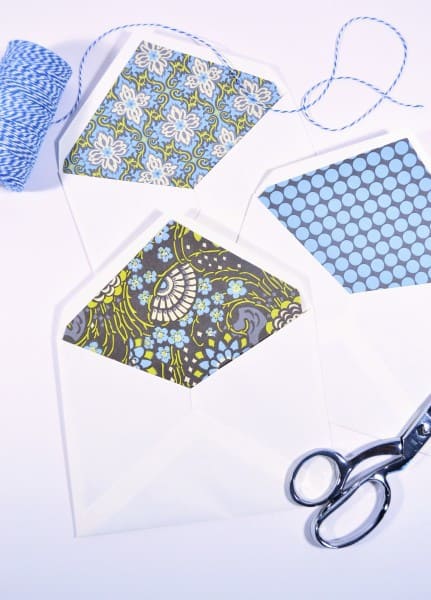
All you need is a pair of scissors, envelopes, a glue stick or double sided tape and the paper of your choice. I chose scrapbook paper for this, but wrapping paper would also work well (and be slightly less-expensive). This paper, by the way, is from an Amy Butler-designed pack I bought at Michaels a few years ago.
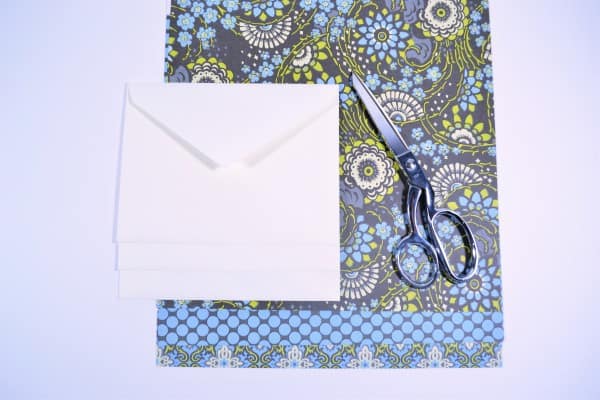
To create your own envelope liners, simply make a template by tracing one of your envelopes on a piece of cardboard or heavyweight cardstock. Cut out. Trim 1/8″ from each side of the template (so the liner will slide easily into the envelope), and 1/4″ from the top two sides of the template (the triangular portion). Place inside one of your envelopes to make sure it fits well and the gummed portion for sealing isn’t covered. Adjust, if necessary.
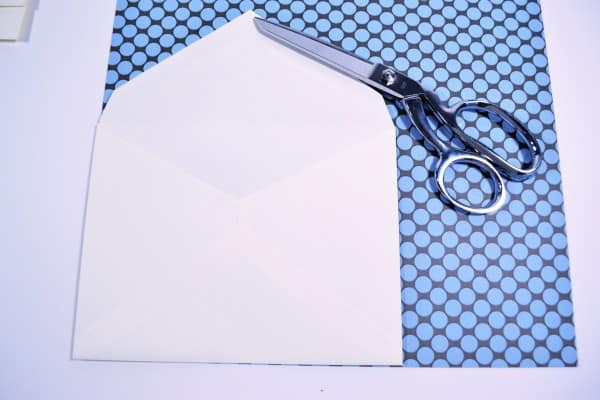
Use this template to cut out you liners. Insert into your envelopes, and use a glue stick or double-sided tape to hold in place.
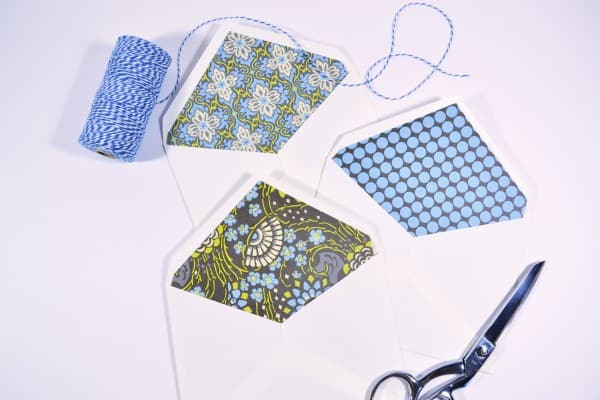
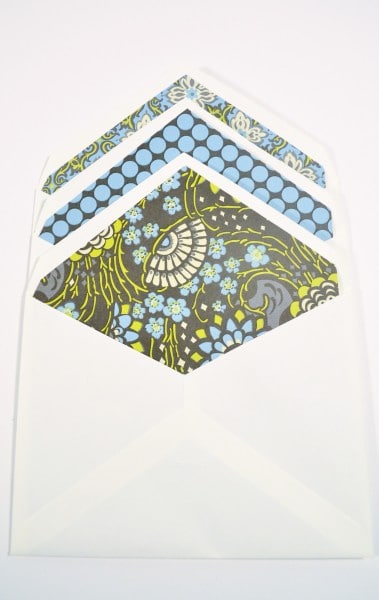
And that’s it! These are perfect for shower or wedding invitations, of course, but they’d also be cute for holiday cards or even just to gussy up your everyday correspondence.
Thanks for reading all about my DIY envelope liners. Have a crafty day!
