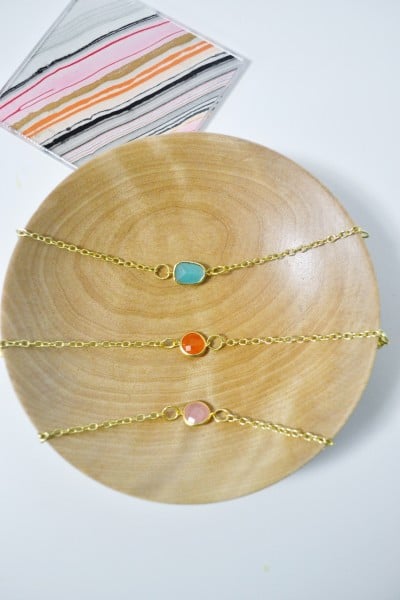
Jewelry making is something I’ve been doing for years. I love the process of choosing stones, deciding on a design, and, of course, wearing and gifting the finished product. Lately, I’ve been drawn to simpler styles and clean lines, which lends itself nicely for beginners. Today, I’m sharing the how-to for these easy gemstone bracelets…
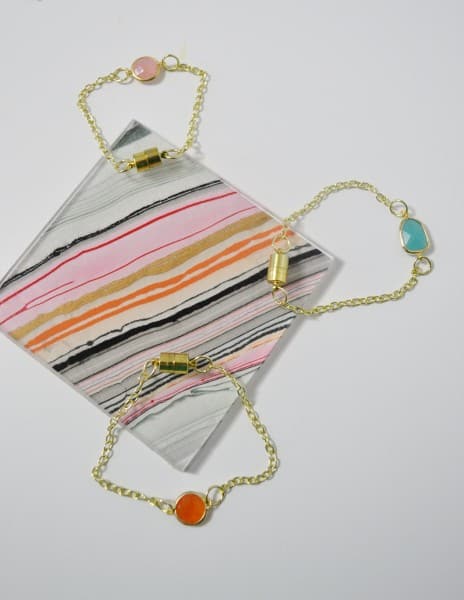
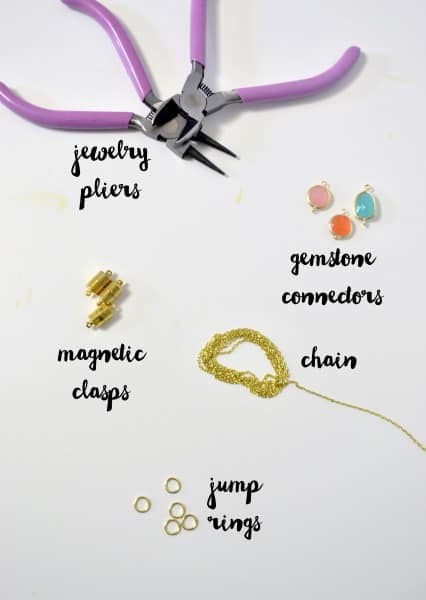
Materials:
- Gemstone Connectors
- Jump Rings
- Jewelry Pliers
- Clasps
- Chain
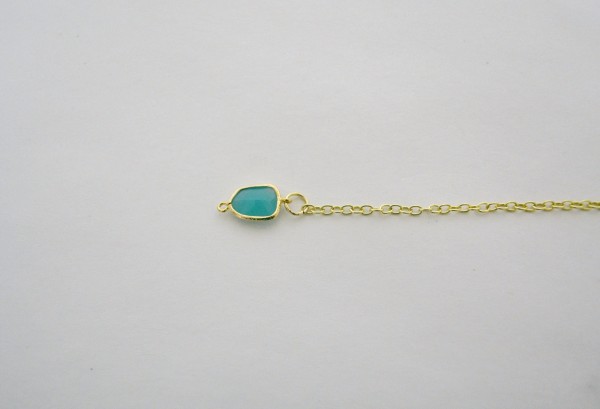
Step 1: Attach a jump ring to one end of your connector. To do this, hold your jump ring with one set of pliers, and take a second set of pliers to gently pry it open. Hook one end of the connector onto the open jump ring, as well as a length of chain. Use your pliers to gently close your jump ring.
Step 2: Use your cutter pliers to snip the end of your chain, as well as cut a second piece of chain for the other end of the connector. To do this, you’ll have to decide on the final length of your bracelet. I like mine to be about 7″ long (but I have small wrists). Each length of my chain was 2.5″ long. The other two inches came from the connector, jump rings, and clasp (so the total length was 7″).
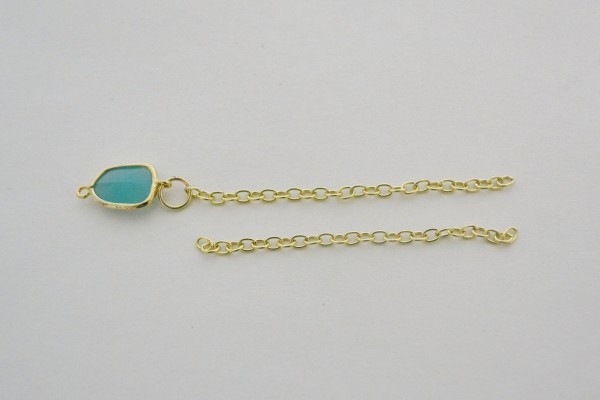
Step 3: At the end of your chain, attach another jump ring. Also attach your clasp (I chose a magnetic clasp) to this same jump ring.
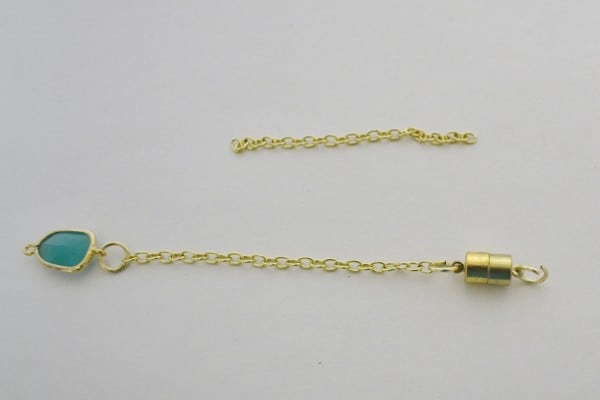
Step 4: Repeat for the other end of your bracelet.
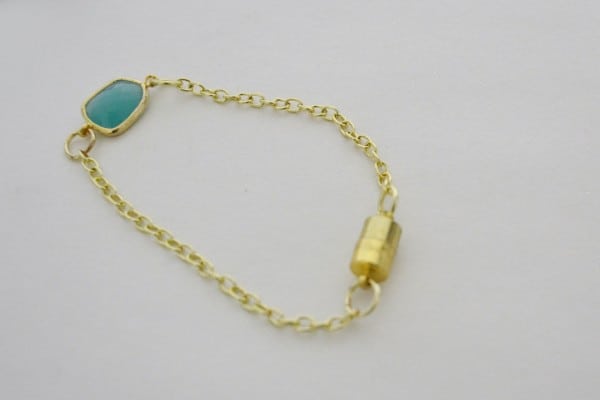
Once you get the hang of it, a bracelet like this will only take 10 minutes or so!
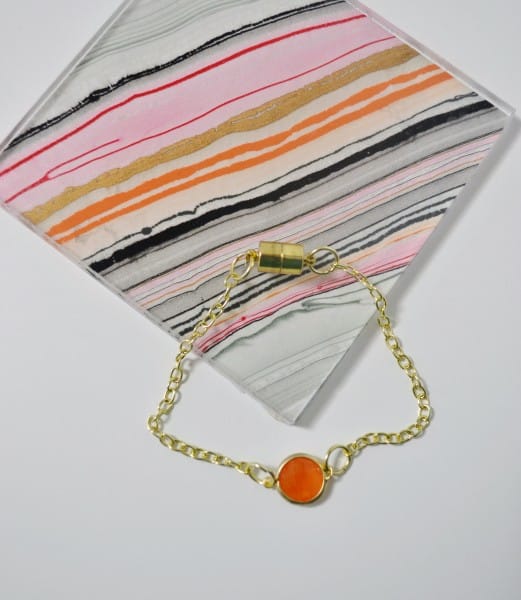
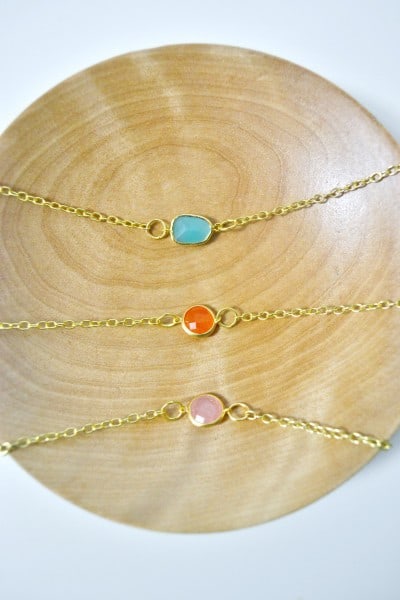
I hope to do more jewelry tutorials in the future…let me know if you liked this one and what you’d like to see me share next!
Thanks for reading!

