Hi there! Jillian here from Her Split Ends, with a fun art project to help you show off some of your “favorite things!” I have a friend {well technically she’s a blog acquaintance…but we recently officially met in person so I feel like i can say she’s a friend} that has a slight obsession with ceramic animals. Understandably so of course…cuz they are awesome!
So when the lovely Sherry {and her sweet husband John} from the blog Young House Love announced they were coming to Atlanta for a book signing party I just KNEW I needed some sort of awesome “ceramic animal” inspired gift to send their way!!
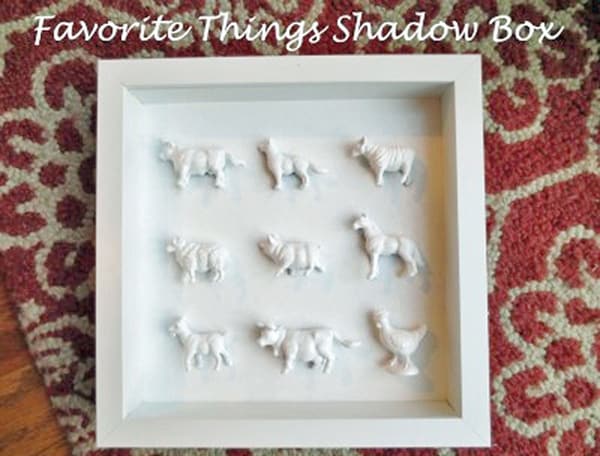
After scouring pinterest for a little inspiration I came up a “favorite things shadow box”, the favorite thing in this case being faux ceramic animals of course!
You could fill this object d’ art with ANYTHING that you love or is special to you.
Shells from a favorite beach trip, old pieces of jewelry from a special family member, fabulous thrift store finds, your child’s favorite toys…ANYTHING! {have i stressed the fact that you can really use anything for this project enough?!?}
Supplies you will need:
- shadow box frame
- toy animals {or any other fabulous little grouping you might want to frame}
- white spray paint {use paint and primer in one OR a can of primer as well}
- super glue
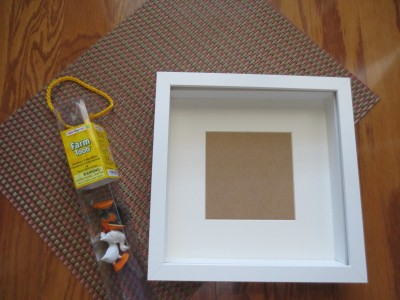
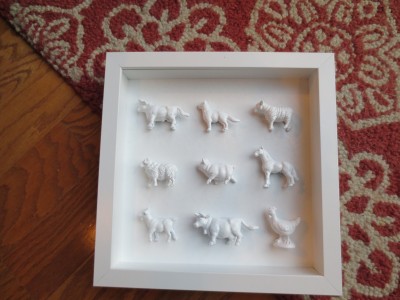
Step One: Gather your supplies. I picked up a white shadow box frame from Ikea & a tube of plastic farm animals from Michaels. The Ikea frame came with a matte, so I removed the matt and was left with a clean solid surface to layout the animals on.
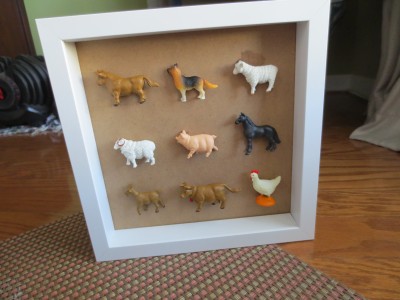
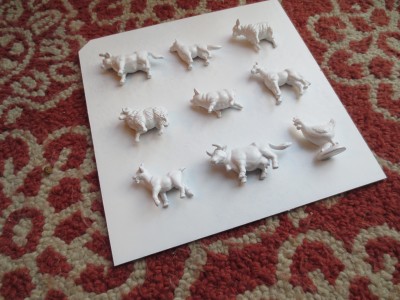
Next, play with the layout of the animals {or other favorite objects} until you are happy with it. Piece o’ advice…keep the frame in tact but remove the glass, this way you can see what the objects will look like with the frame as you move them around.
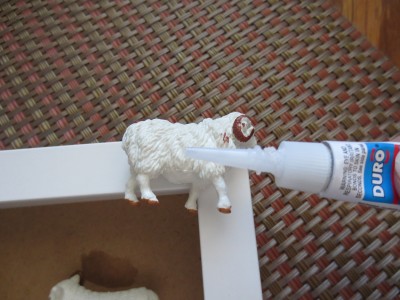
When you’ve nailed down the layout, time to break out the glue. Let’s talk adhesives for a moment…I chose from this list of best glue for plastic. I think any of them work work!
I wanted to be sure they stuck but didn’t have a lot of surface area to apply the glue to. Just use your best judgement on the adhesive situation {situation…like its a major life decision here…or someone with really killer abs}
Once those babies are all glued into place, give them ample time to dry and then stand it up…shake it around…give it the old “make sure they stay in place” test. Once you are confident that no one’s going anywhere its time to paint!!
Now this is where the magic really happens. I chose to glue first…and then spray paint the entire thing white. If you want your background and special goodies to be different colors, simply paint the items and the background material separately and then glue in place. {for instance if i wanted white animals on a turquoise background}
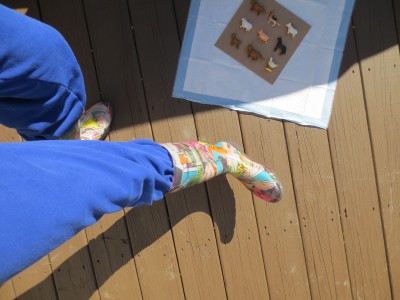
This next tip is SUPER important…make sure to wear stylish shoes while spray painting…it can make all the difference…
Once you are sporting the proper foot wear…paint on. I made the mistake of not using a spray primer first {you could also use a paint and primer in one} so it took a TON of coats to get this baby white and shiny.
Especially important if you are using something that is plastic {like these animals} or not at all porous. So what felt like 10 million coats of spray paint later…I had a fabulously glossy white set of animals that I was in LOVE with!!
After the paint has cured {make sure you REALLY let it settle in or you might have a moisture issue behind the glass} and the overwhelming stinky paint smell has subsided your new object d’ art is ready for its home!!
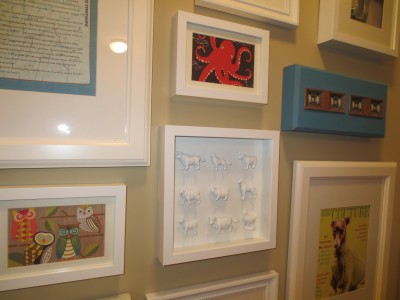
Frame it up and hang it up!!
As I mentioned I gave this as a gift to the lovely couple from Young House Love so it only had a temporary moment of glory on my collage wall, but it was worth every second…LOVE!!
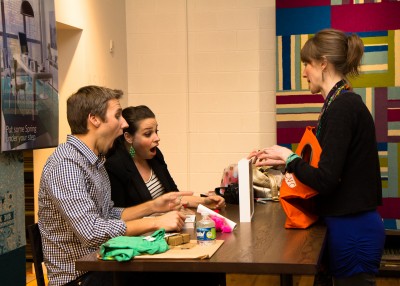
The gift giving was a great success and John and Sherry seemed to love!! Here’s hoping this little guy finds a happy home somewhere in their house.
Happy Crafting!!
~ Jillian

Christina at I Gotta Create!
Monday 25th of February 2013
So cute! Saw you at CWTS! Pinning :)
<3 Christina at I Gotta Create! Wildly Original linky party every Wednesday
Holly
Tuesday 19th of February 2013
What a great idea! So cute!!! I love the pic of Sherry and John receiving the gift--that's priceless! Good luck with CWTS!
Design Thoughts~Kim
Thursday 14th of February 2013
Super cute idea ;)
Megan
Thursday 14th of February 2013
Such a cute idea. I love it!
harlie
Thursday 14th of February 2013
Something about that pig has makes me laugh. He just looks like he's totally strutting his stuff. Swine swagger!
I saw Sherry & John's reaction on YHL.com and thought it was great. That must have been so gratifying to see how much they loved it!