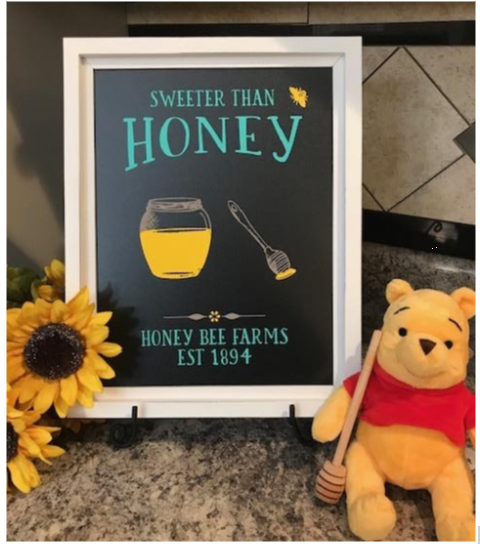
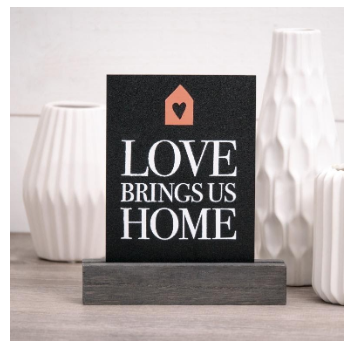
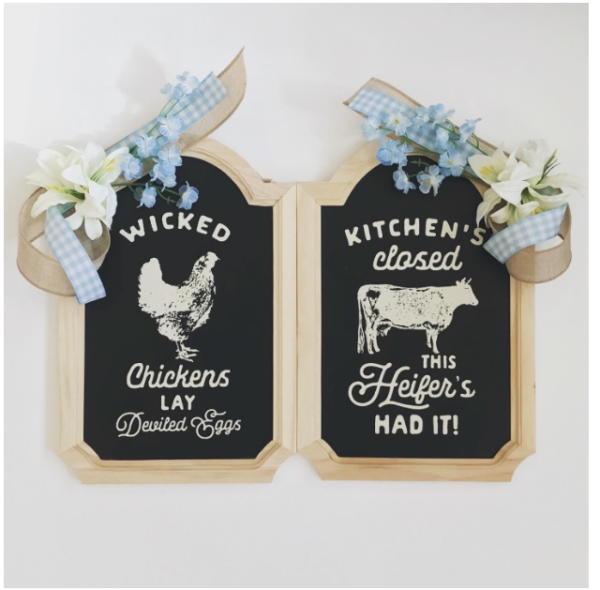
Hi! I’m Jennifer and I’m a Designer with Chalk Couture, a company that specializes in DIY home décor.
In this post I’m going to walk you through the process of how to create a farmhouse sign that is high quality and personalized to you. Thanks to Linda for the opportunity for me to share this with you!

Farmhouse signs are widely popular. You can’t walk into a craft or home improvement store without seeing huge displays of them.
Surprisingly, they are actually quick and easy to make for yourself. And you don’t need a ton of craft supplies or heavy equipment.
Creating your own farmhouse sign allows you to customize it to your style. With a few supplies, most of which can be purchased here, and just 10-15 minutes, you’ll be able to create a cute farmhouse sign for your home.
Materials You’ll Need
- Surface (chalkboard, wood pallet board, etc.)
- Transfer
- Chalk paste
- Squeegee
- Fuzzing cloth (e.g. terry cloth towel)
- Plastic or metal stir stick
- Board eraser (e.g. Mr. Clean magic eraser) or cleaning wipe (e.g. Clorox wipe)
- Shallow pan
- Distilled water
- Optional: Clear craft sealing spray
Follow These Steps
Fuzz your transfer
Your transfer is your stencil that you will use to create your sign with. These reusable stencils (can be reused up to 12 times) are very sticky. Fuzzing helps break up the adhesive so that your transfer won’t be so sticky that you have a hard time pulling it back off of your surface. Just peel your transfer off the backing and place it on a fuzzing cloth. Wipe your hands over top of the transfer a few times, then peel back off the cloth.
Position your transfer on your surface and apply chalk paste
Whether you are using a chalkboard or wood surface, you’ll place your transfer on your surface where you want your design. Then with your squeegee apply your chalk paste over your transfer.
Note: Your chalk paste will need to be stirred beforehand and about the consistency of yogurt. If your chalk paste appears dry, add a few drops of distilled water (only use distilled water as tap water can cause your paste to mold), and stir with a plastic or metal stir stick. Do not use wood as the wood will absorb the moisture that you need in your paste.
Peel your transfer back off your surface
Once you’ve applied your chalk paste and have removed the excess, peel your transfer back off your surface, and admire your work!


Clean your materials
Once you are finished, you’ll want to immediately put your transfer (sticky side up), squeegee, and stir stick in a shallow pan of water.
This will soak the chalk paste on your materials and make it easier to clean. Only leave your transfer in the water for a few minutes. Allowing it to sit too long can cause the adhesive to break down.
After removing your transfer from the water, place on your fuzzing cloth, and wipe clean with a board eraser or cleaning wipe. Once dry, just place your transfer back on the glossy side of the backing that it came from.
Helpful Tidbits
- Chalk paste is water soluble meaning it will wash off with just water and also means that your sign will also wash off with just water. This is so that you can change the colors on your design, change the design on your board for the seasons, etc. If you want to keep your design permanent, just spray with a clear craft sealing spray.
- Chalk paste dries quickly. You want to be sure to lift your transfer off your surface while your paste is still wet. Otherwise you run the risk of the paste drying to your transfer, and lifting off when taking the transfer off.
- Do not use baby wipes when cleaning your transfer as this can ruin your transfer’s adhesive.
- Dry dust your sign only. Dusting sprays or other cleaners can remove the chalk paste from your sign.
- To make your sign even more uniquely yours, you can add flowers, ribbon, and other embellishments to your creation.

Chalk Couture products are my go-to for transfers and chalk paste. With over 200 transfers and 40 paste colors, you can mix and match stencils and colors for a sign that is uniquely yours that you can’t find anywhere else.
If you’d like to receive more information, click here to get my quick start guide. This guide includes a materials list, helpful links, and FAQ’s for creating your own farmhouse sign.
Creating chalkboard signs are so easy and so fun! And they’re a great way to relax and unwind. I guarantee once you make your first sign, you’ll be hooked!
