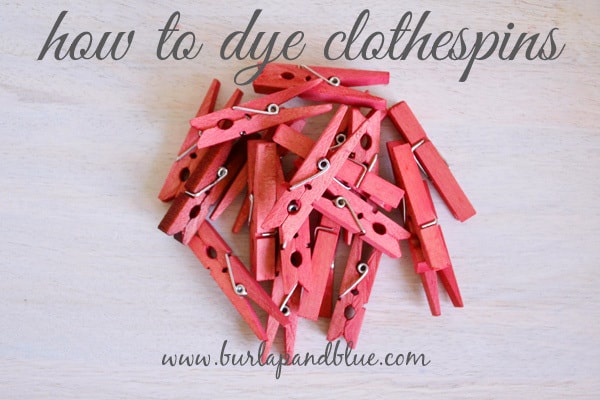
Hello and happy Monday! We’re slowly adjusting to Life With a Newborn around here, and I’m hoping to be back here much more often than I have been as of late. So in that vein, I have a quick and easy tutorial to share with you all today on how to dye clothespins, wooden tags, or other small, wooden items.
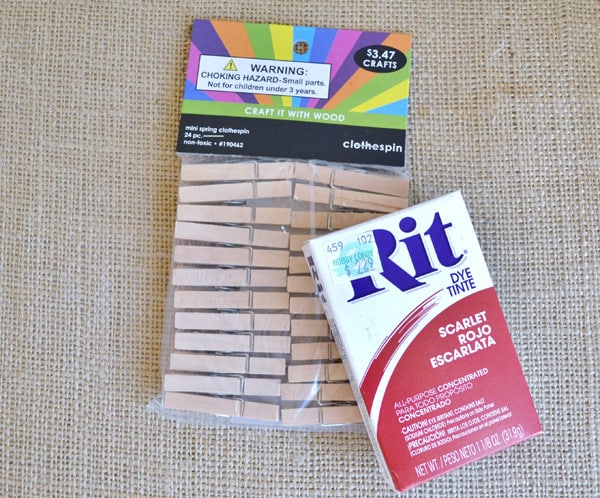
Here’s what you need…
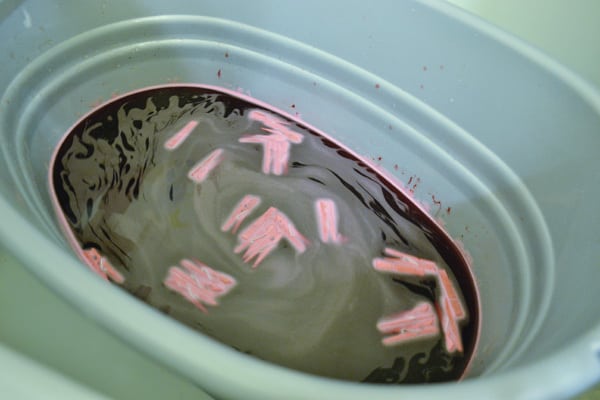
Following the instructions on the dye packet, add the dye to a tub of water and add clothespins. Remember-this stuff does stain, so be careful, and wipe down all surfaces when you’re done dyeing:)
Don’t see the color you want? Use this handy Color Formula Guide to find your perfect color match.
Check clothespins every few minutes and remove them from the dye once desired color is achieved. I left mine in the dye for over half an hour…once you drain and rinse, the color gets a bit lighter, and I wanted mine saturated.
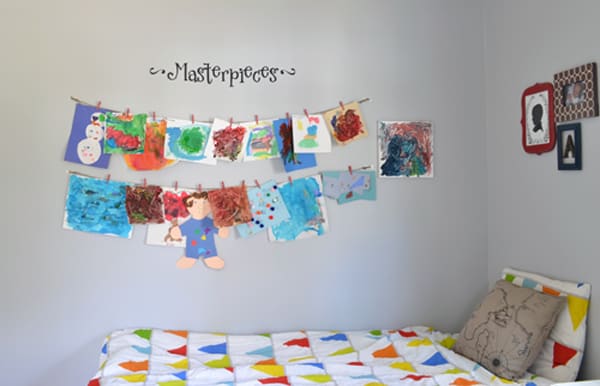
Rinse clothespins, let dry, and you’re done! I used them to hang artwork in my kids’ bedroom.
So simple and easy! Have a great day!


Christine
Monday 6th of May 2013
By the way, I tweeted about this tutorial because I liked it so much. :)
Christine
Monday 6th of May 2013
This is amazing!! I had no idea you could dye wood with RIT dye. I have a wooden bowl that I want to try this with.
burlap+blue
Monday 6th of May 2013
pretty neat, huh? glad to inspire you!