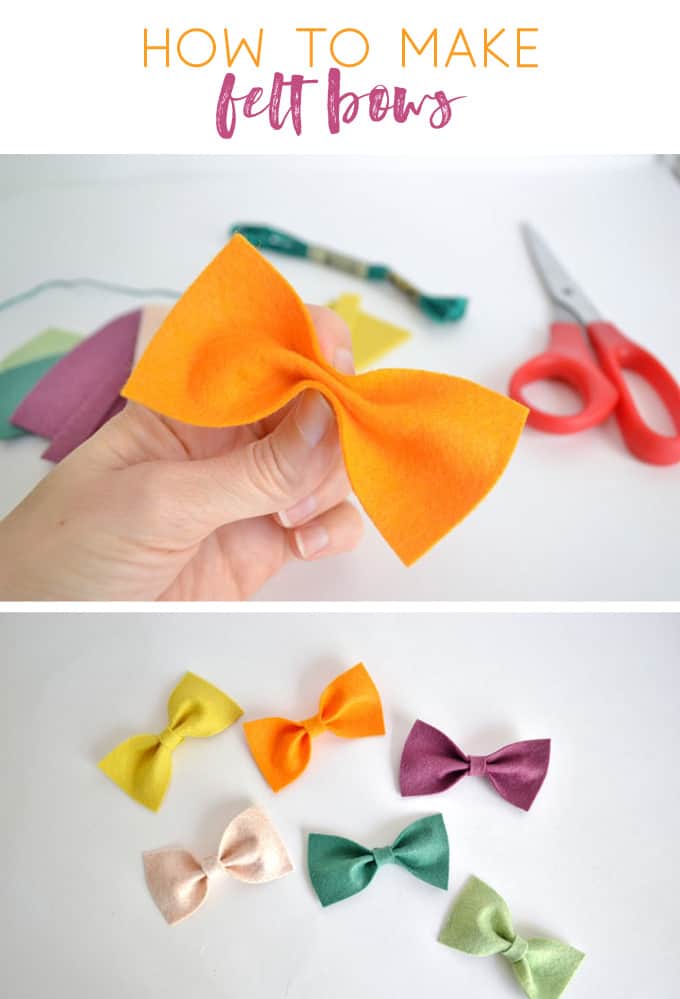
Today’s post is all about how to make felt bows! Add an alligator clip to the back to make a hair clip, or do what I did and string them together to create this sweet garland!
First, gather your felt, scissors, hot glue, embroidery floss and some cardstock to create your template. I made my template business card size (maybe a tad longer), but create yours however you like.
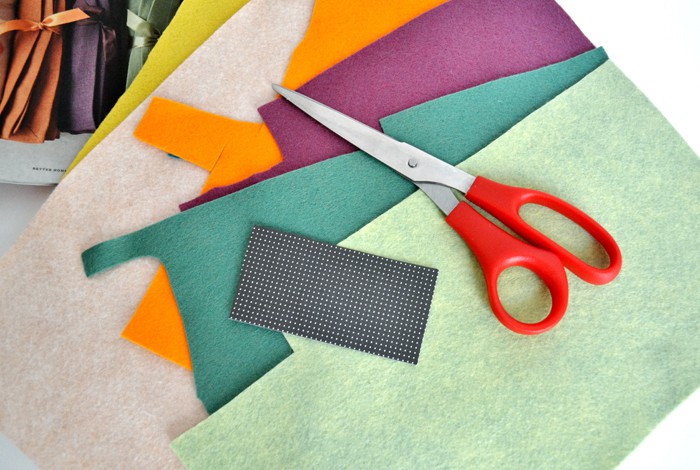
(See the magazine peeking out in the corner of the photo? It’s the new BHG, which is where I totally stole the color palette inspiration, btw)
So, first things first. Using your template, cut a rectangle from each piece of felt, as well as a skinny piece to wrap around the middle of each bow.
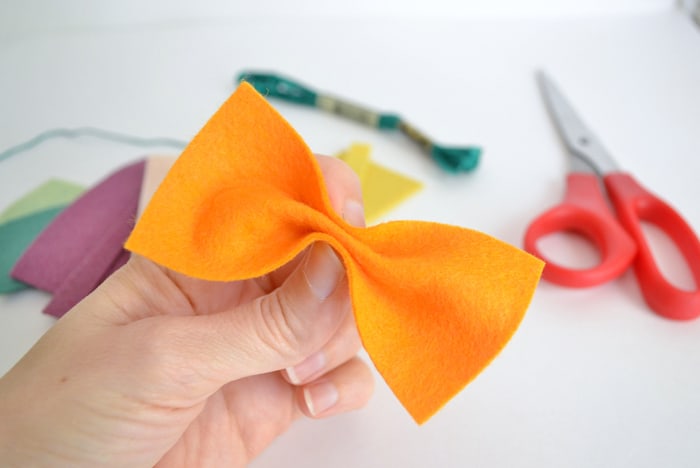
Fold each rectangle, accordian style, and pinch it in the middle. Tie each with a length of embroidery floss down the middle. I tried both hot glue and my sewing machine to hold these together, the floss was quickest and easiest for me.
After each bow is tied (or glued or stitched), hot glue your skinny piece around the middle of each bow, hiding the ends in the back.

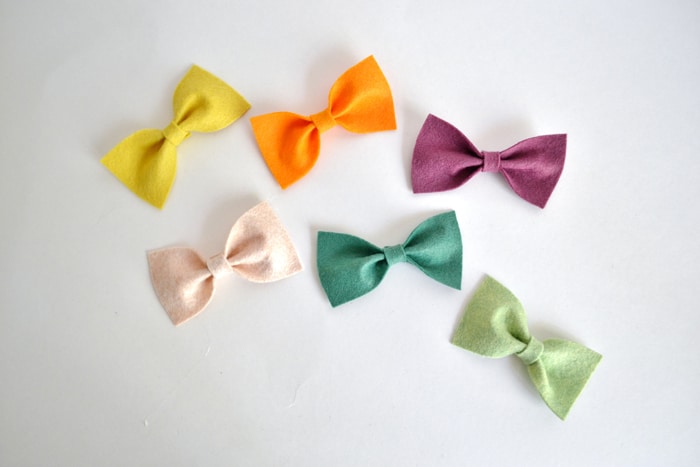
After you’re done, you’ll have a group of these pretties….
Next up-you’ll need to connect the bows together. My original thought was to use embroidery thread to stitch them together. I knew, though, that I did not want the thread to show, and, because each bow is a different color, that would be difficult with embroidery thread. So, my solution was this…
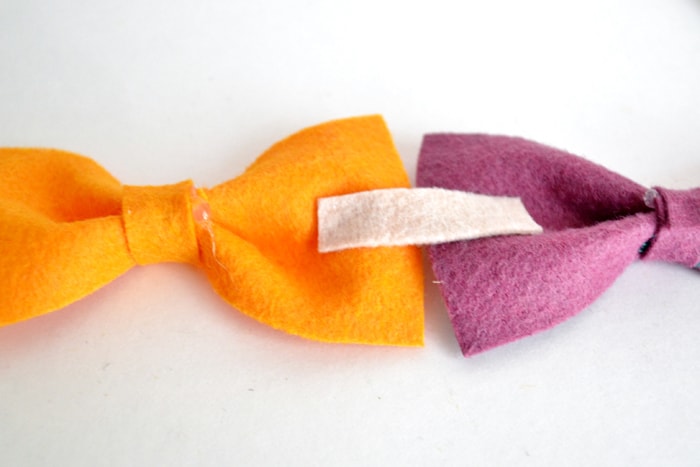
Using a small piece of felt and hot glue, I had a simple and invisible solution. Lastly, take two skinny pieces of felt to create loops for hanging. Attach to each end of your garland.
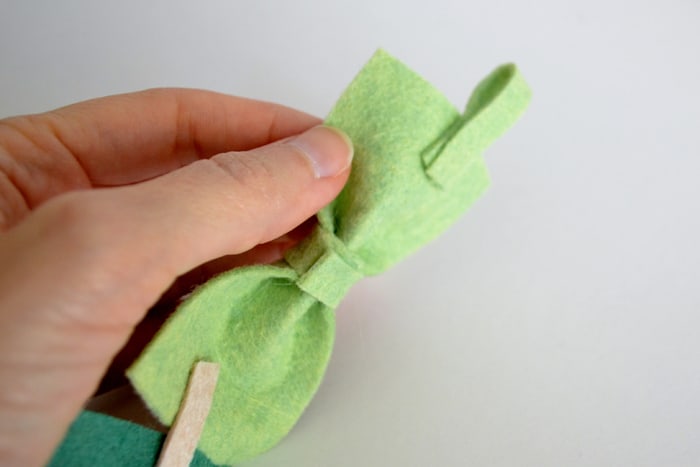
And you’re done!
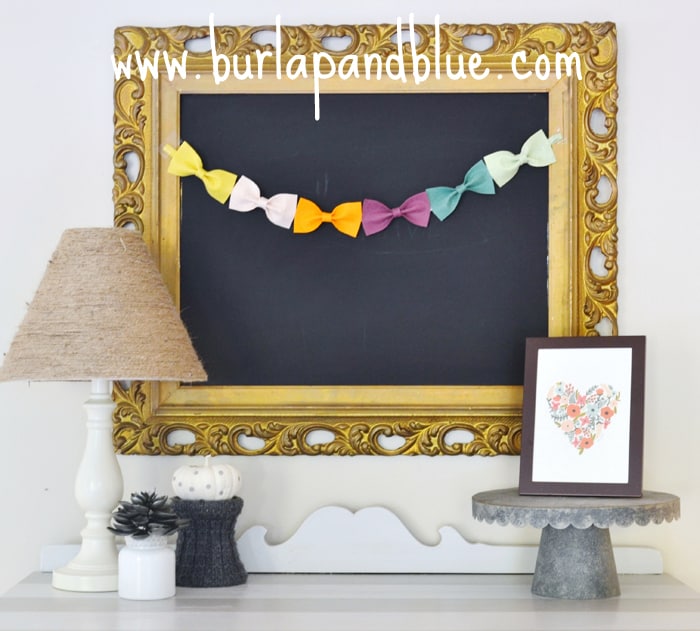
So tell me, what color combinations would you create this in? Personally, I’d love to see all white, or maybe one with shades of gray and white!
Thanks for reading all about my felt bow garland! Have a lovely day!

