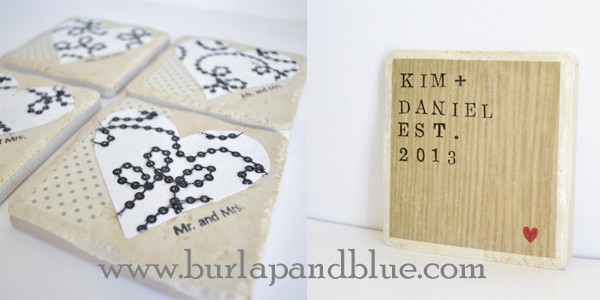
Hello, sweet readers! I’m here today to share with you a meaningful and personalized gift for all of those upcoming Spring and Summer weddings. Whether you need a wedding gift, a shower gift, or a housewarming gift for the newlyweds, these custom coasters are sure to be treasured by the new couple. I’m going to show you how to make each style above, so let’s get started!
Materials:
mod podge
stone tiles
scrapbook paper
polyurethane sealer
stamps (I used a small Mr. and Mrs. stamp)
ink
cork or felt for the backing
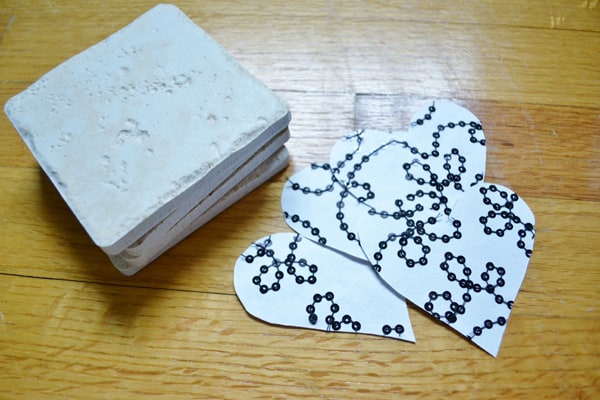
Step 1: Cut a heart out of cardstock, and use this to trace and cut out four hearts out of your scrapbook paper. I found this textured, sequined paper at Michaels, and thought it was perfect for this project!
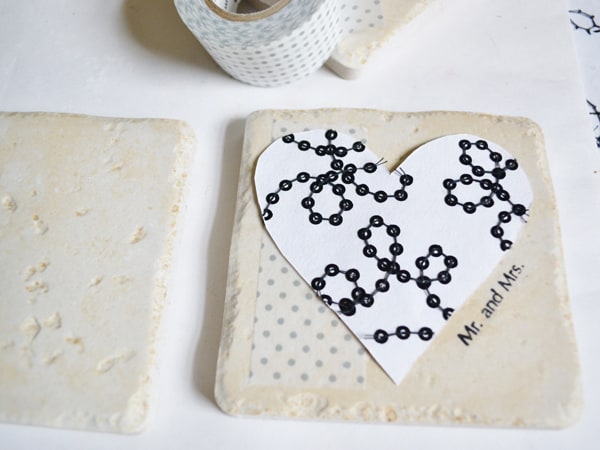
Step 2: Before affixing the hearts onto the tiles, I added a strip of washi tape down the side of each coaster tile. If you don’t have washi tape, you could easily use a length of scrapbook paper for this step! I liked how this addition added a bit of dimension and contrast to the coasters. Next, place the hearts on your tiles and use your stamps (or your handwriting if you are lucky enough to have pretty penmanship!) to stamp out “Mr. and Mrs.” or “love” next to your heart.
Here’s what it looks like before mod podging…
Step 3: Remove the heart, and place a layer of Mod Podge over the entire coaster, directly over the washi tape and stamped words. Place heart back on tile and smooth down. Once dry, finish by adding another 2-3 coats of Mod Podge, and a coat of polyurethane sealer for extra durability (if desired).
Step 4: Add cork (or felt) to the backs of the coasters so that they don’t scratch the newlyweds’ furniture, and you’re done!
Wrap in tissue paper and ribbon, and you’ve got a unique and useful gift for the new couple. Want another idea? How about a set personalized with the couple’s names and wedding date?
Materials:
mod podge
stone tiles
scrapbook paper
polyurethane sealer
letter stamps and heart stamp
ink
cork or felt for the backing
Step 1: Cut square pieces of scrapbook paper (I love this wood grain pattern) to fit your coaster tiles. Mod Podge them onto your coasters.
Step 2: Using your stamps, stamp out the names/date/etc. that you’d like on your finished coasters.
Step 3: Seal with 2-3 coats of Mod Podge, and a coat of polyurethane (if using). Back with cork.
Have a great day!


Audrey Ryan
Tuesday 23rd of April 2013
Wow, this is very cute. I'd like this idea for wedding souvenirs. I really love DIY stuffs most specially that we can have our choice of design. I really love it. Thanks for sharing this. I'll take note of this site for future reference.