How about an oldie but goodie for your Monday morning? A couple of years ago, I posted a tutorial for this pleated lampshade…
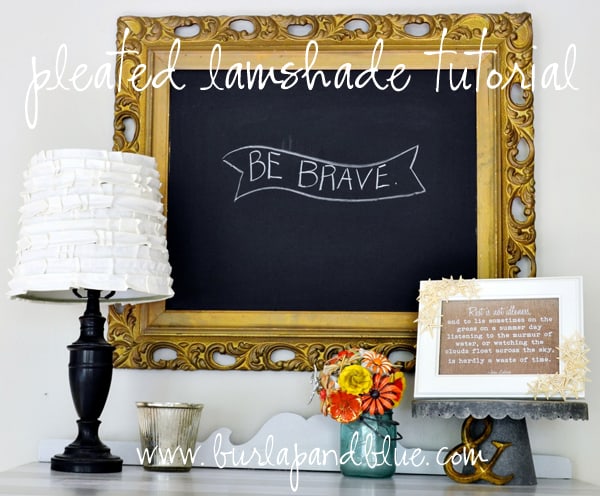
This has been one of my most popular posts, and for those who haven’t been with me from the beginning, here it is again!
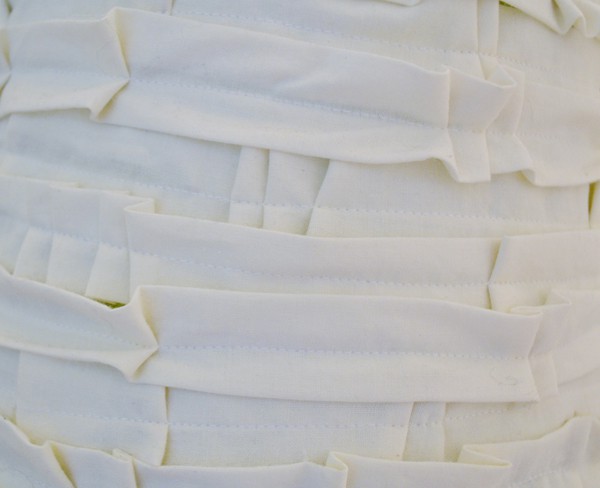
Isn’t she just divine? I made one of these a few weeks ago and just love it. Added bonus? It was super cheap and so easy. Let me take you through it!
Materials Needed:
lampshade (mine was a Goodwill find)
fabric
sewing machine
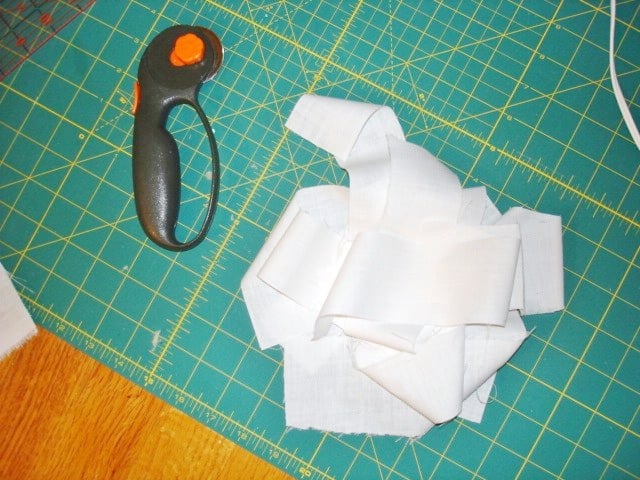
Step 1: Cut strips of fabric, about 2 inches wide and about twice as long as the circumference of your lampshade. I used 11 for my lampshade above, make a few extra just in case.
The twice as long part is approximate as well…the length really depends on how many pleats you decide to sew into your strips.
You can always and easily cut off extra length, though, so err on the side of too long.
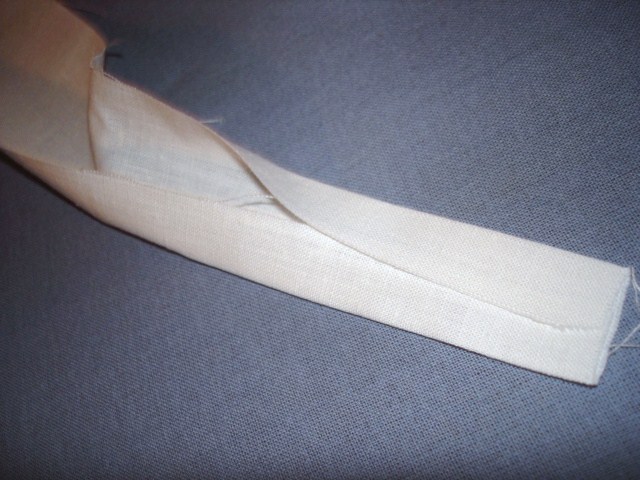
Step 2: At your ironing board, take each strip, fold both raw edges in towards each other, and press. Did that make sense? Maybe a picture will help…
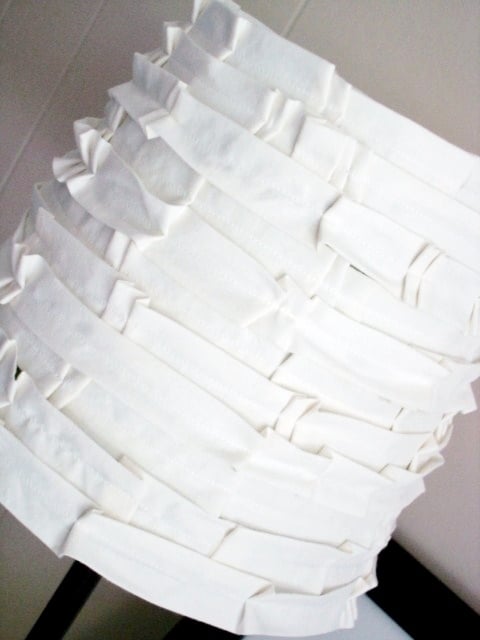
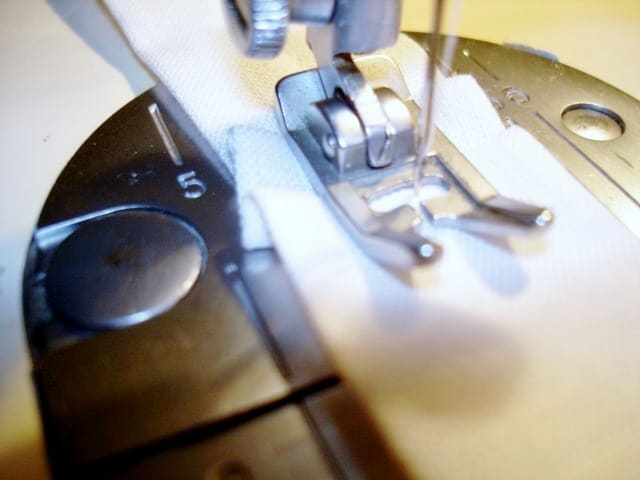
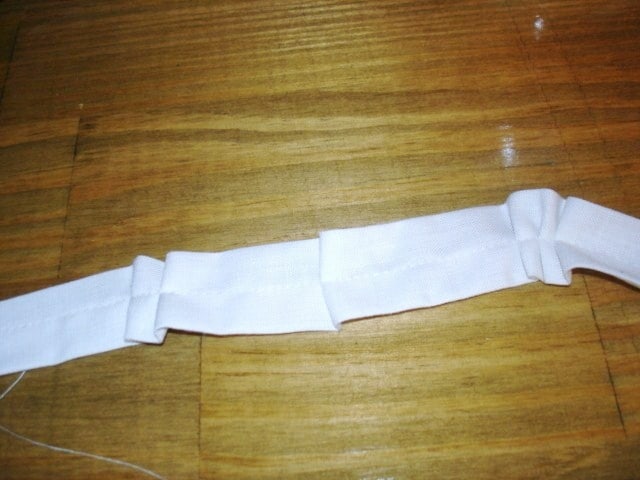
Step 3: Now it’s time to sew in the pleats. With the folded ends facing down, start at one end of a strip and sew a straight line down the middle.
Every once in a while throw in a single, double or triple pleat by folding the fabric as it reaches the needle. Again, a picture may help…

Shannon
Monday 13th of August 2012
Love this!
Marce
Monday 13th of August 2012
Sweet! I love it!