Interested in string art? In today’s post, I’m sharing string art patterns, templates and ideas, as well as string art kits to buy!
All good things tend to circle back into popularity, and that includes string art!
String art was very popular back in the 70s, and it looks like it’s definitely seeing a surge again with crafters young and old.
This time, though, there is no shortage of fun string art patterns you can DIY….and if you’d rather purchase a kit for yourself or a friend, there are plenty of modern and fun ones to choose from.
You can easily tailor your string art experience by your skill level.
If this is your first time using a string art pattern, choose a simple shape to start with. If you are more experienced, feel free to try something more complex.
I’m also going to share some amazon kits that are inexpensive and a great way to get started with string art.
First, let’s discuss the basics of string art.
How to Make String Art
If you are just getting started with string art, here are some basic materials. I’m linking to those I’ve used and loved in the past.
- piece of wood cut to the size you want
- hammer
- scissors
- small round head nails
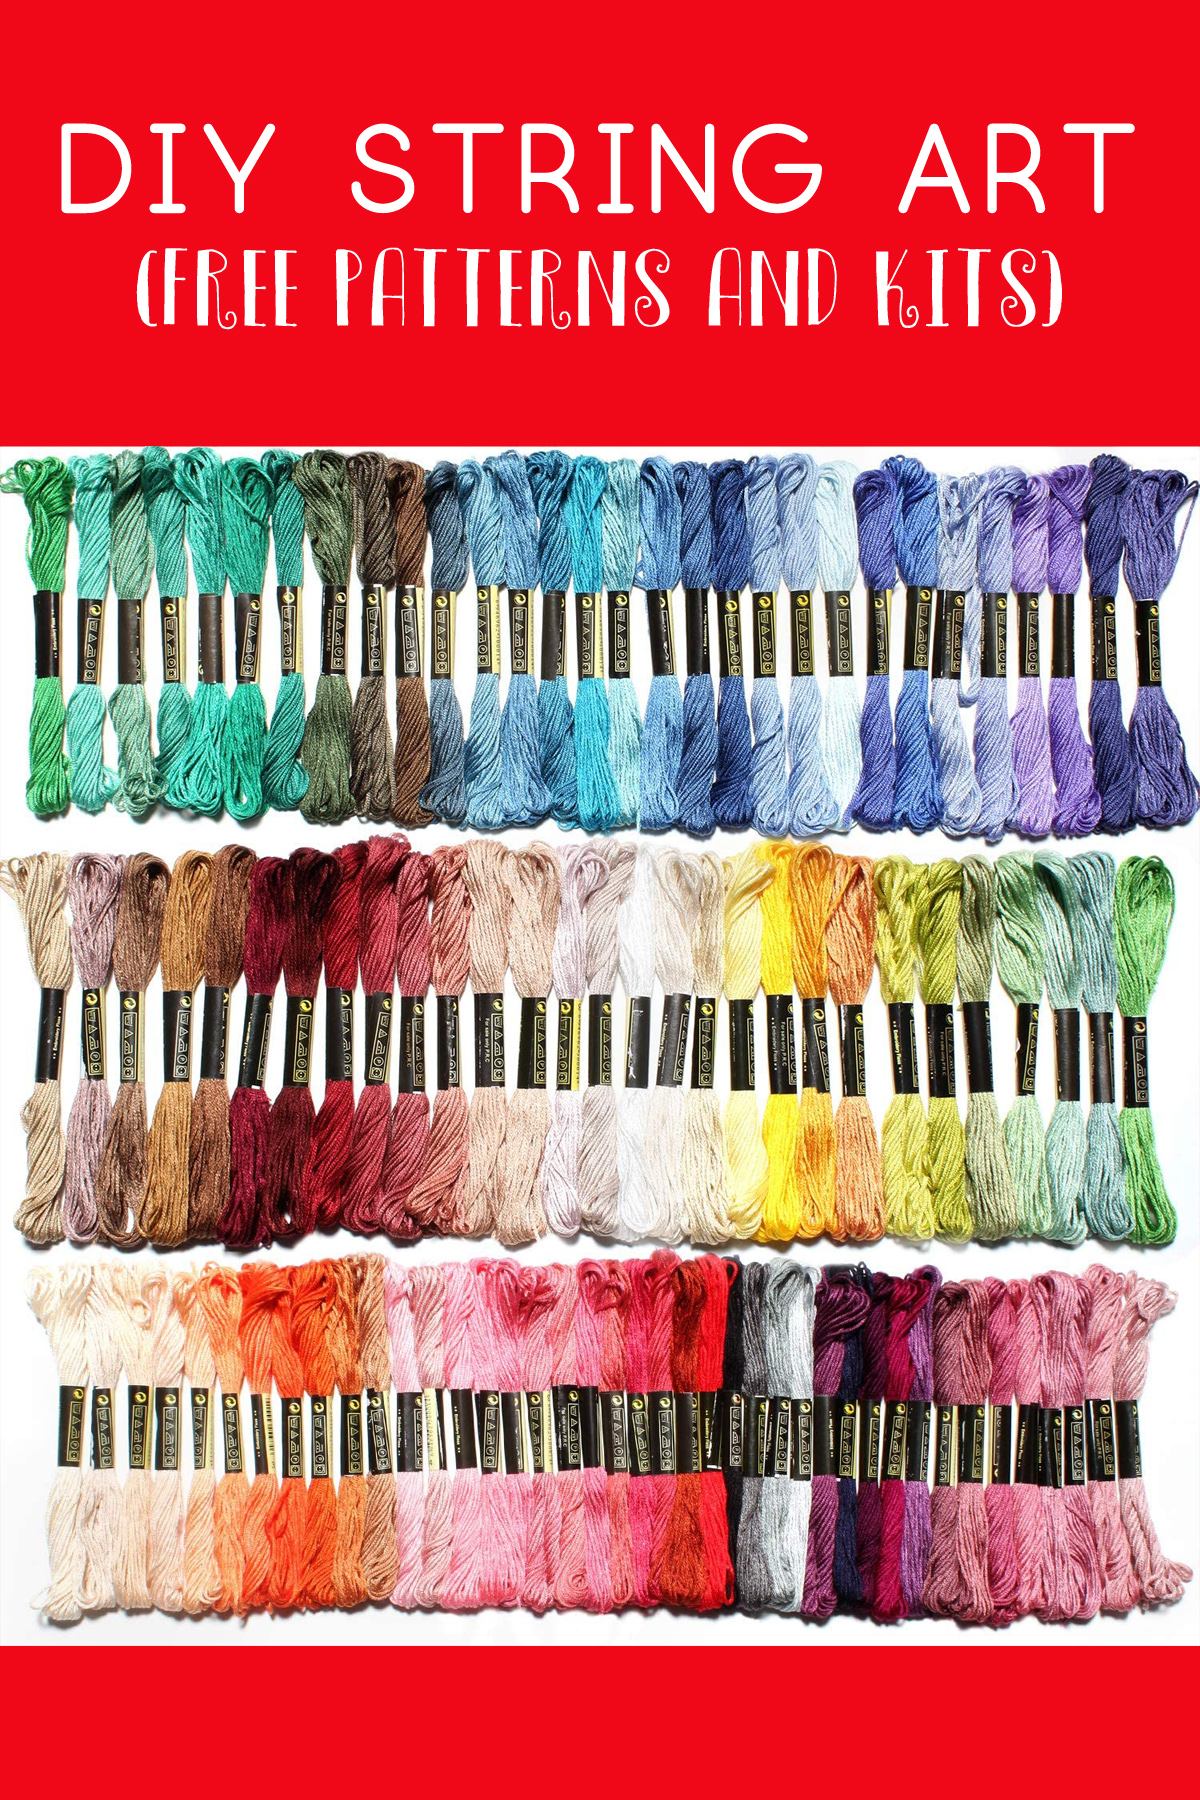
- embroidery floss
- tape
- string art templates (see ideas below)
Step 1: First, you’ll want to find an image you’d like to use for your string art piece. Lots of ideas are below!
Images with straight lines (and less curves) work best, especially for beginner string art crafters.
Print and cut out your image.
Step 2: Secure your image to your wood piece with tape.
CAREFULLY and slowly, tap your nails into your wood, following the outline of the image. You’ll want to try to tap your nails just outside your pattern.
Try to space your nails as evenly as possible, as well as nail them to approximately the same depth. Outline your shape completely.
Step 3: Remove the paper pattern carefully.
Next, using your embroidery floss you will now outline the perimeter of your shape. Be sure to use all six strands; do not separate the strands.
To do this, begin by tying your floss to your first nail. Then, wrap your string around each nail as you make your way across your pattern.
Once you reach the end of your outline, tie your string to your original piece of floss at your first nail.
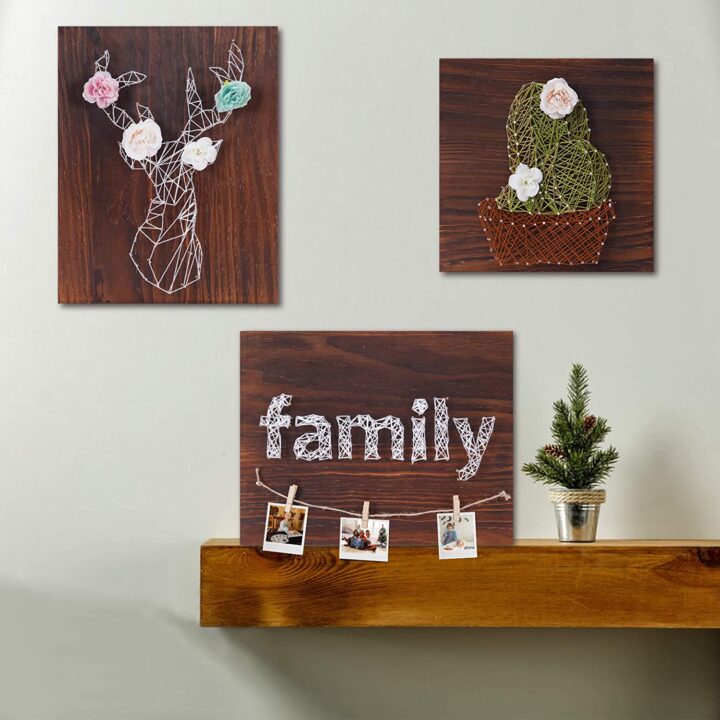
Step 4: Next, continue filling in your shape using more embroidery floss.
The easiest way to do this is by criss crossing across your shape, wrapping each nail as you go.
There is no “right” or wrong way to do this. Just be sure to continue up and down and zig zag across your pattern.
When you need or want to switch colors, simply tie off your string and tie a new piece of floss onto a nail.
Clip the tails of your threads when you are done and that’s it!
String Art Patterns
Now, it’s time for the free string art patterns, as well as inexpensive string art kits you can purchase!
Remember, you can really use any image you like, and I’ve included some plain images below that aren’t technically meant for string art.
You’ll just need to print it out (obviously, black and white is fine) and space your nails along the outline.
Most of these patterns, however, have dots to help you place your nails.
String Art Patterns, Ideas, Templates and Kits to Try and Buy
Interested in string art? In today's post, I'm sharing string art patterns, templates and ideas, as well as string art kits to buy!
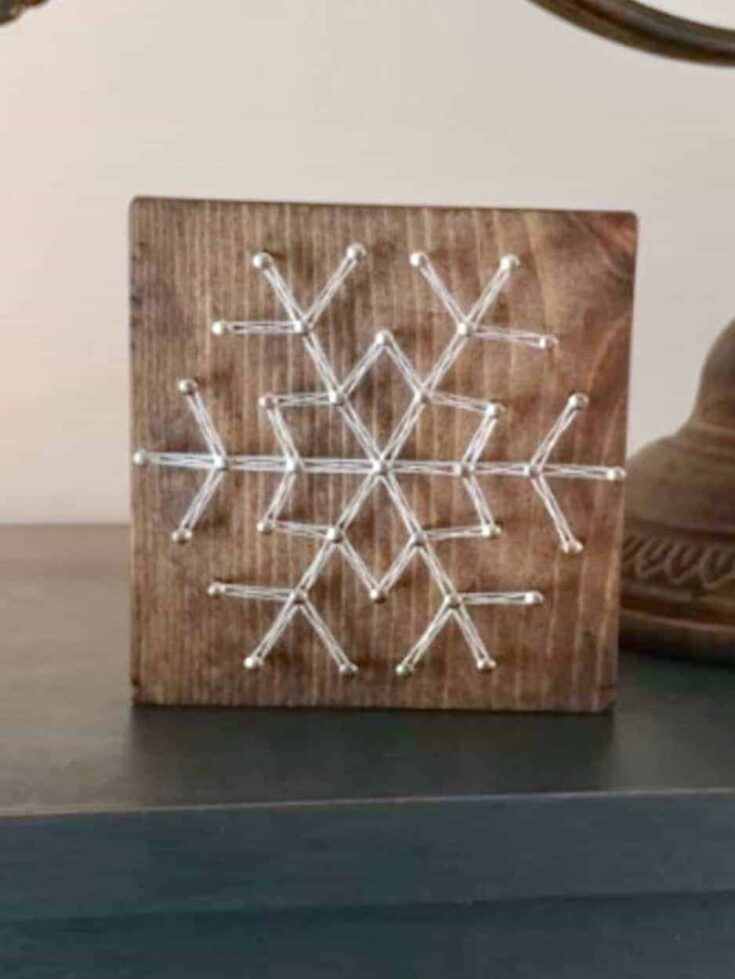
This is a fun and free snowflake string art tutorial perfect for beginners. It would also make a fun DIY craft for a winter birthday party!
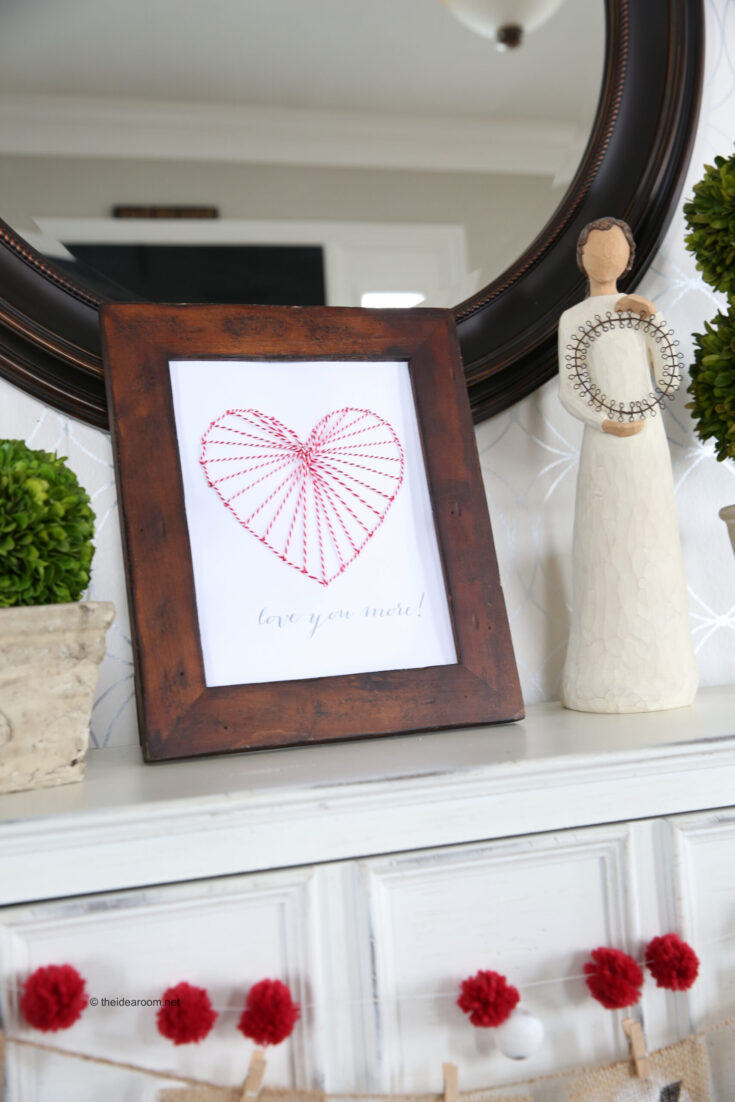
Here's another fun, easy and free valentines day heart string art pattern from the idea room!
This is a cute one that is perfect all year long. Create your heart in all one color, or mix it up for an eclectic decor piece.
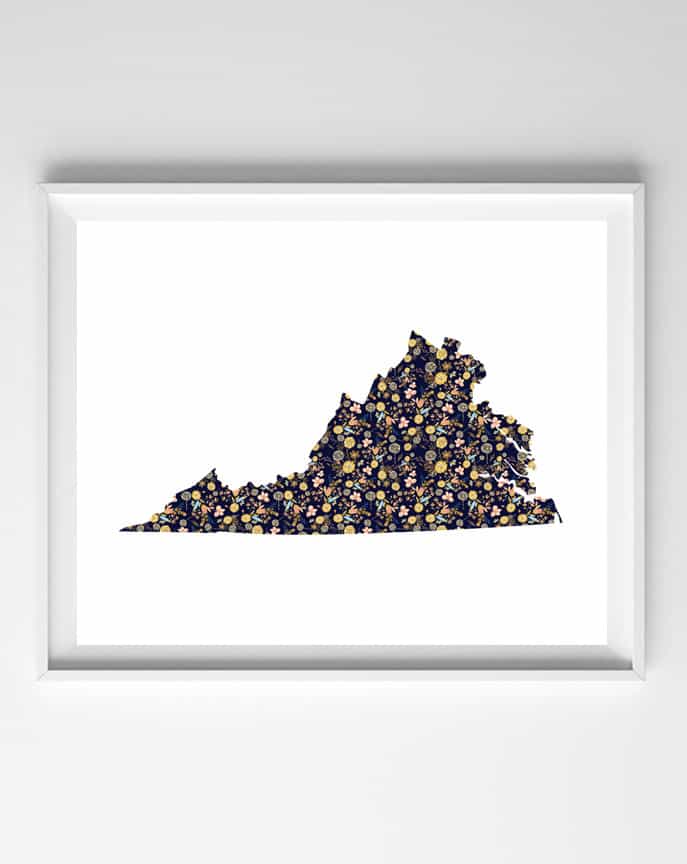
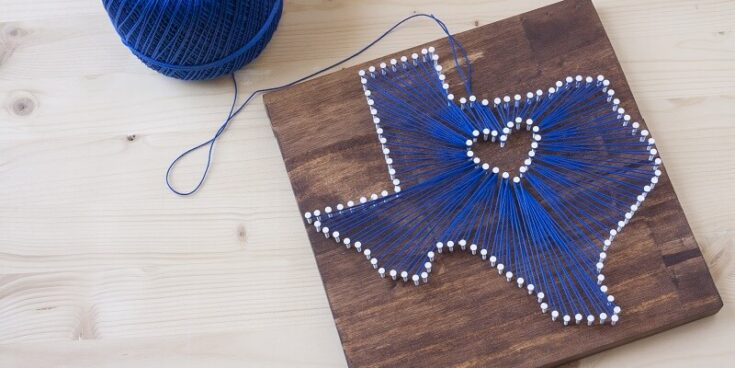
Choose any state you'd like for an easy string art pattern perfect for a wedding gift, long distance gift idea, or to give as a meaningful gift for a family member or significant other.
This site has some easy and doable string art patterns for crafters of all ages.
From a heart template, a "love" template, a flower and more, it's the perfect place to get ideas.
Who doesn't love a good unicorn craft??
This is something my daughter and I would love to do together and it's in my cart ready for her April birthday!!
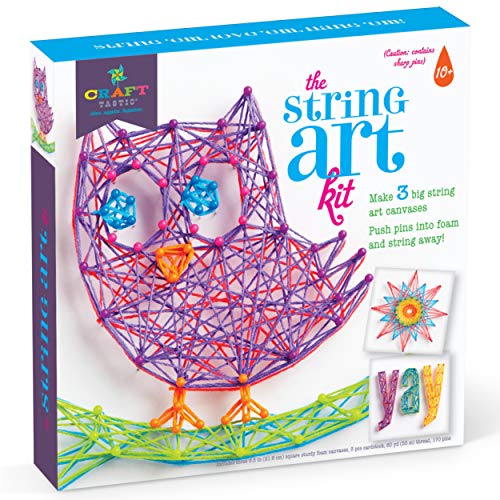
Or how about an owl for another fun DIY string art kit? The best part is that these kits are under $20 so you don't have to spend a ton for a creative art afternoon!
I’d love to hear your thoughts! Have you tried string art yet? Did you find a fun pattern or kit to try?
Let us know in the comments!
Thanks so much for reading all about our String Art Patterns and Templates. Have a great day!


Patrick
Thursday 1st of December 2022
I’d really like to know how people create string art patterns. I want to make my own, not just rely on others designs.
Wood Craft Ideas {Favorite Crafts Using Wood to Make and Sell} - DIY GALAXY
Tuesday 7th of September 2021
[…] String art is one of my wood crafts ideas! It makes a great gift and home decor item. […]
Kathleen Denny
Tuesday 25th of May 2021
Can you use crochet cotton for string art? Using multiple strands for thickness?
Patrick
Thursday 1st of December 2022
@Kathleen Denny, crochet string is best. Size 10.