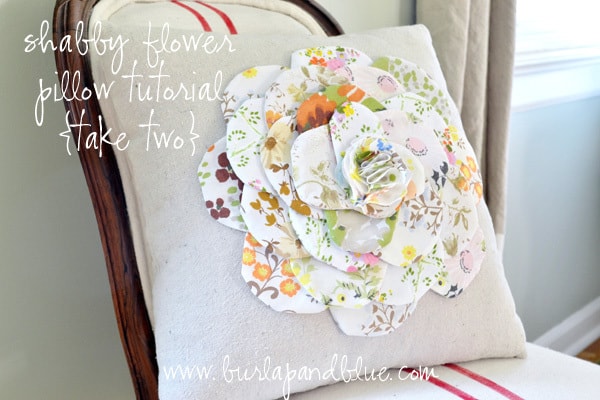
Last year, I posted one of my all-time favorite tutorials for my Shabby Flower Pillow. Looking at the number of views (and pins!) of this post, you all loved it, too.
This year, I wanted to give it a fresh new update…
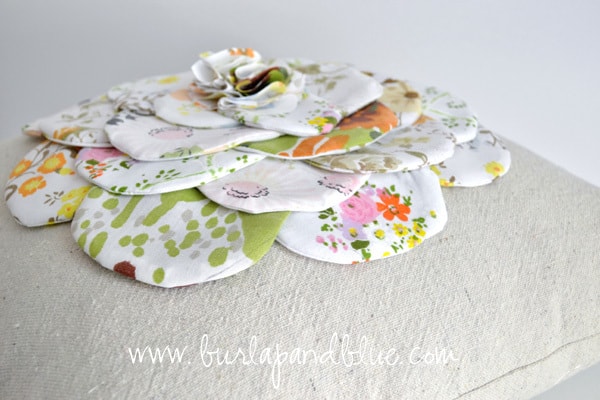
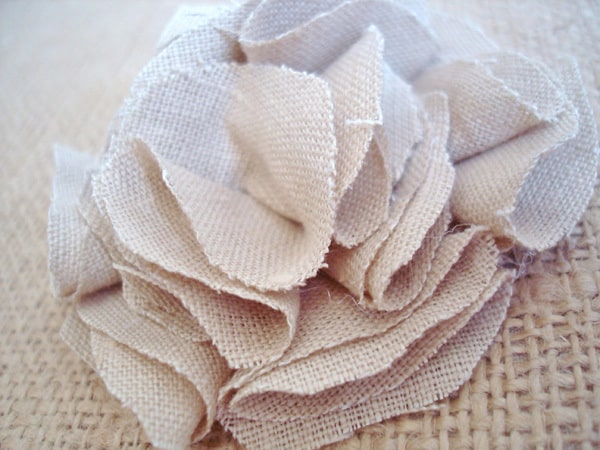
Yep. I love the linen, but this combo of dropcloth and vintage linens makes my heart go pitter-patter. I adore using vintage linens in my projects…the contrast of pretty vintage florals with modern, contemporary home projects just wins me over every time.
I shared the tutorial on the original post, but took a few new pics this time around and wanted to share them here.
Want to make one of your own? Here’s what you need…
Supplies:
fabric (I used dropcloth and vintage linens)
sewing machine
zipper (if desired)
I already had the dropcloth pillow that I wanted to use for this project, but if you are making this from scratch, just cut your two pieces of fabric, create your flower on one piece, and then assemble your pillow.
Step 1: Create your petals. Cut out a half-circle template out of cardstock (approximately 4″ across at the widest point). Place on a double layer of fabric, right sides together, and cut. I used approximately 25 “petals” to create my flower, but don’t worry, they come together faster than it sounds!
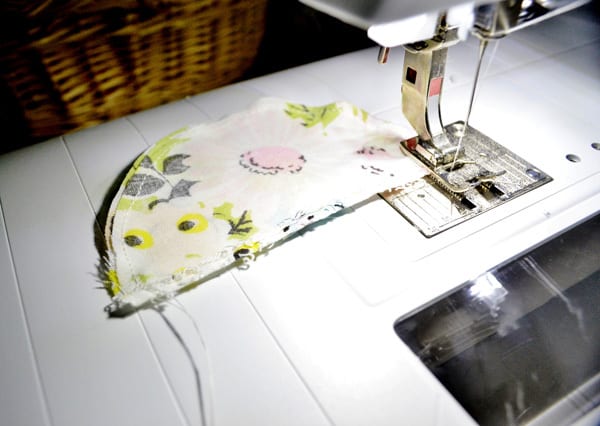
Step 2: Take your two layers of fabric and stitch around the curve.
You’ll end up with a pile that looks like this…
Step 3: Take your sewn petals and turn them inside out. Press flat.
Step 4: Take petals and arrange your first layer on your pillow fabric. Stitch petals down to fabric. Continue creating petals and attaching them to pillow front, working from the outside towards the center. I did 4 layers total, and, for the last (inner) layer, I cut down my template and made the petals slightly smaller.
After the first layer is down, it’ll look like this…
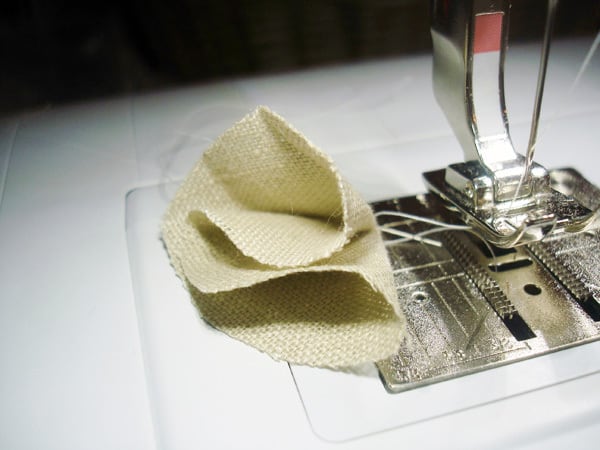
Step 5: Almost there! Now, you just need to create your flower center. There are many ways to do this- you can attach a fabric covered button to the center, or choose from the multitude of fabric flower options out there. I created a simple fabric flower using the following technique:
Take small circles of fabric and fold them once (into a half circle) and again (folding them into a cone shape). Either hot glue or sew your petals shut. Take your petals and hot glue them into a circle onto a small piece of fabric. Once your outer circle is complete, continue layering and working into the center of the circle (photos are from the original post):
Attach to the center of your flower. And that’s it! If you need to put together your pillow, do this now. Otherwise, you’re done!
{sigh}
What do you think? Love this combo as much as I do? Prefer the linen? How about another fabric choice?




Jessica @ Dear Emmeline
Tuesday 4th of September 2012
stopping in from your feature on The Vintage Sheet Blog! Love the pillow with the vintage linens! Pinning it to my Vintage Sheet Yuminess board http://pinterest.com/dearemmeline/vintage-sheet-yumminess/
Katie
Tuesday 24th of July 2012
So cute. Thanks for sharing.
Milynn
Monday 23rd of July 2012
To be honest I never had a thing for linen until I just looked at your blog. It just opened a whole new world for the possibilities of my crafty self. Thank you for that.
I stumbled upon your blog through the Sundae Scoop Link Party and I like what I see!
-Milynn Love and Whimsy
Brooke
Sunday 22nd of July 2012
LOVE IT! It does look rather time consuming, but your shortcuts would help.
Sarah B Texas @ City Girl Gone Country
Sunday 22nd of July 2012
I LOVE the pop of color from the flower against the neutral background. SO cute!
I'm visiting your site from the Sundae Scoop Link party! Hope you'll come check out my link-up this week: Easy DIY Sugar-Free Fruit Popsicles!
I'm now following your blog, as well! I love your craftiness, so I wanted to keep up ;-) Hope you'll head over to my blog and follow me back! As a new blogger, I appreciate the support!
Have a great end to your weekend! :-)
Sarah B Texas @ City Girl Gone Country http://sarahbtexas.blogspot.com